Cavatelli Pasta Masterclass with Julian Sisofo
Cavatelli Masterclass
with Chef Julian Sisofo
Welcome to the Course
In this masterclass, Chef Julian Sisofo teaches you the complete method for crafting authentic southern Italian cavatelli from flour to final plating.
This lesson covers:
Ingredient selection
Boiling-water dough technique
Hydration ratios
Proper dough formation
The vacuum-seal hydration secret
Rope rolling
Cavatelli machine operation
Hand-rolled cavatelli
A full Roman-style sauce to finish the dish
Settle in — you’re about to learn a professional method passed down through generations.
Lesson 1 — Ingredients & Tools
Ingredients
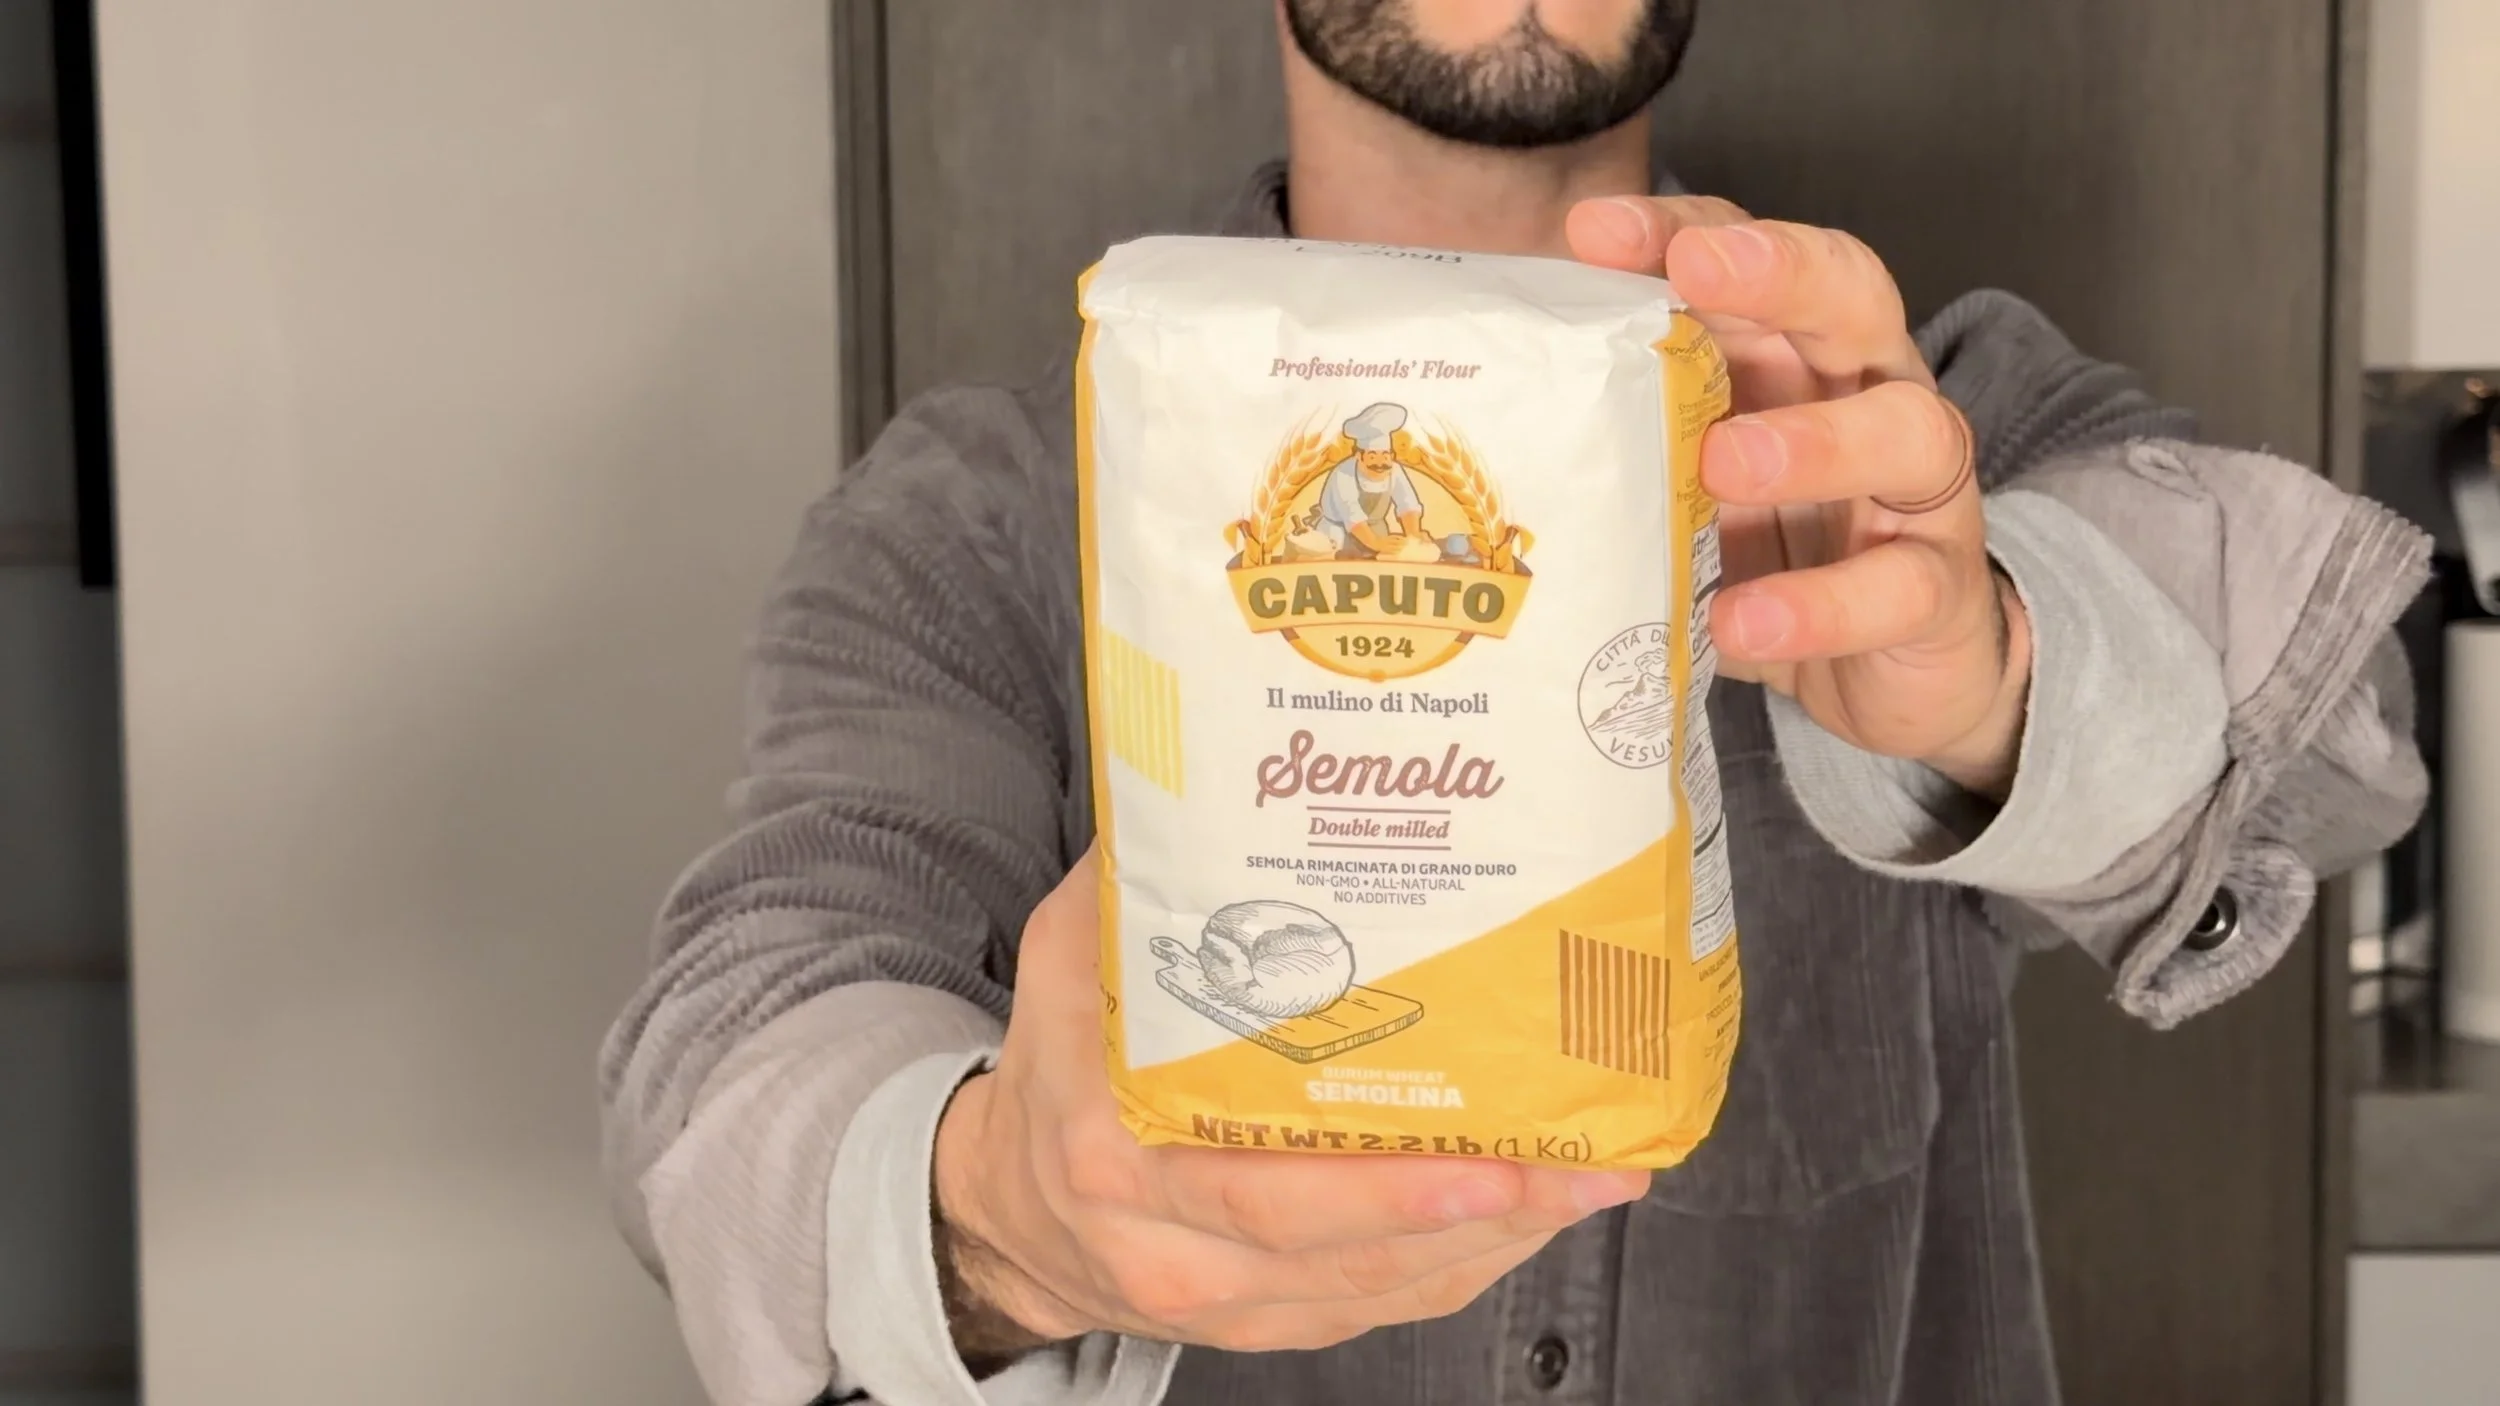
Semolina Rimacinata (Caputo preferred)
Boiling water (47% hydration)
For the Roman sauce:
3 egg yolks
Pecorino Romano
Cracked black pepper
Pancetta or guanciale
Tools Needed
Mixing bowl
Wooden spoon or butter knife
Kitchen scale
Countertop workspace
Cavatelli machine (optional)
Gnocchi board (optional)
Vacuum sealer (Chef’s secret)
Cavatelli Machine:
https://us.consiglioskitchenware.com/products/demetra-premium-cavatelli-maker-usa
Lesson 2 — Understanding the Dough
Why Semolina Rimacinata?
This finely ground durum flour creates the ideal chew, elasticity, and strength for cavatelli.
Why Boiling Water?
Boiling water gelatinizes the starches, which:
Helps absorption
Reduces kneading time
Strengthens the dough
Prevents stickiness
Hydration Ratio
Use this exact formula:
Water = 47% of your flour weight
Example:
500g flour → 235g boiling water
This low hydration ratio creates the classic, firm cavatelli texture.
Lesson 3 — Mixing the Dough (Hand Method)
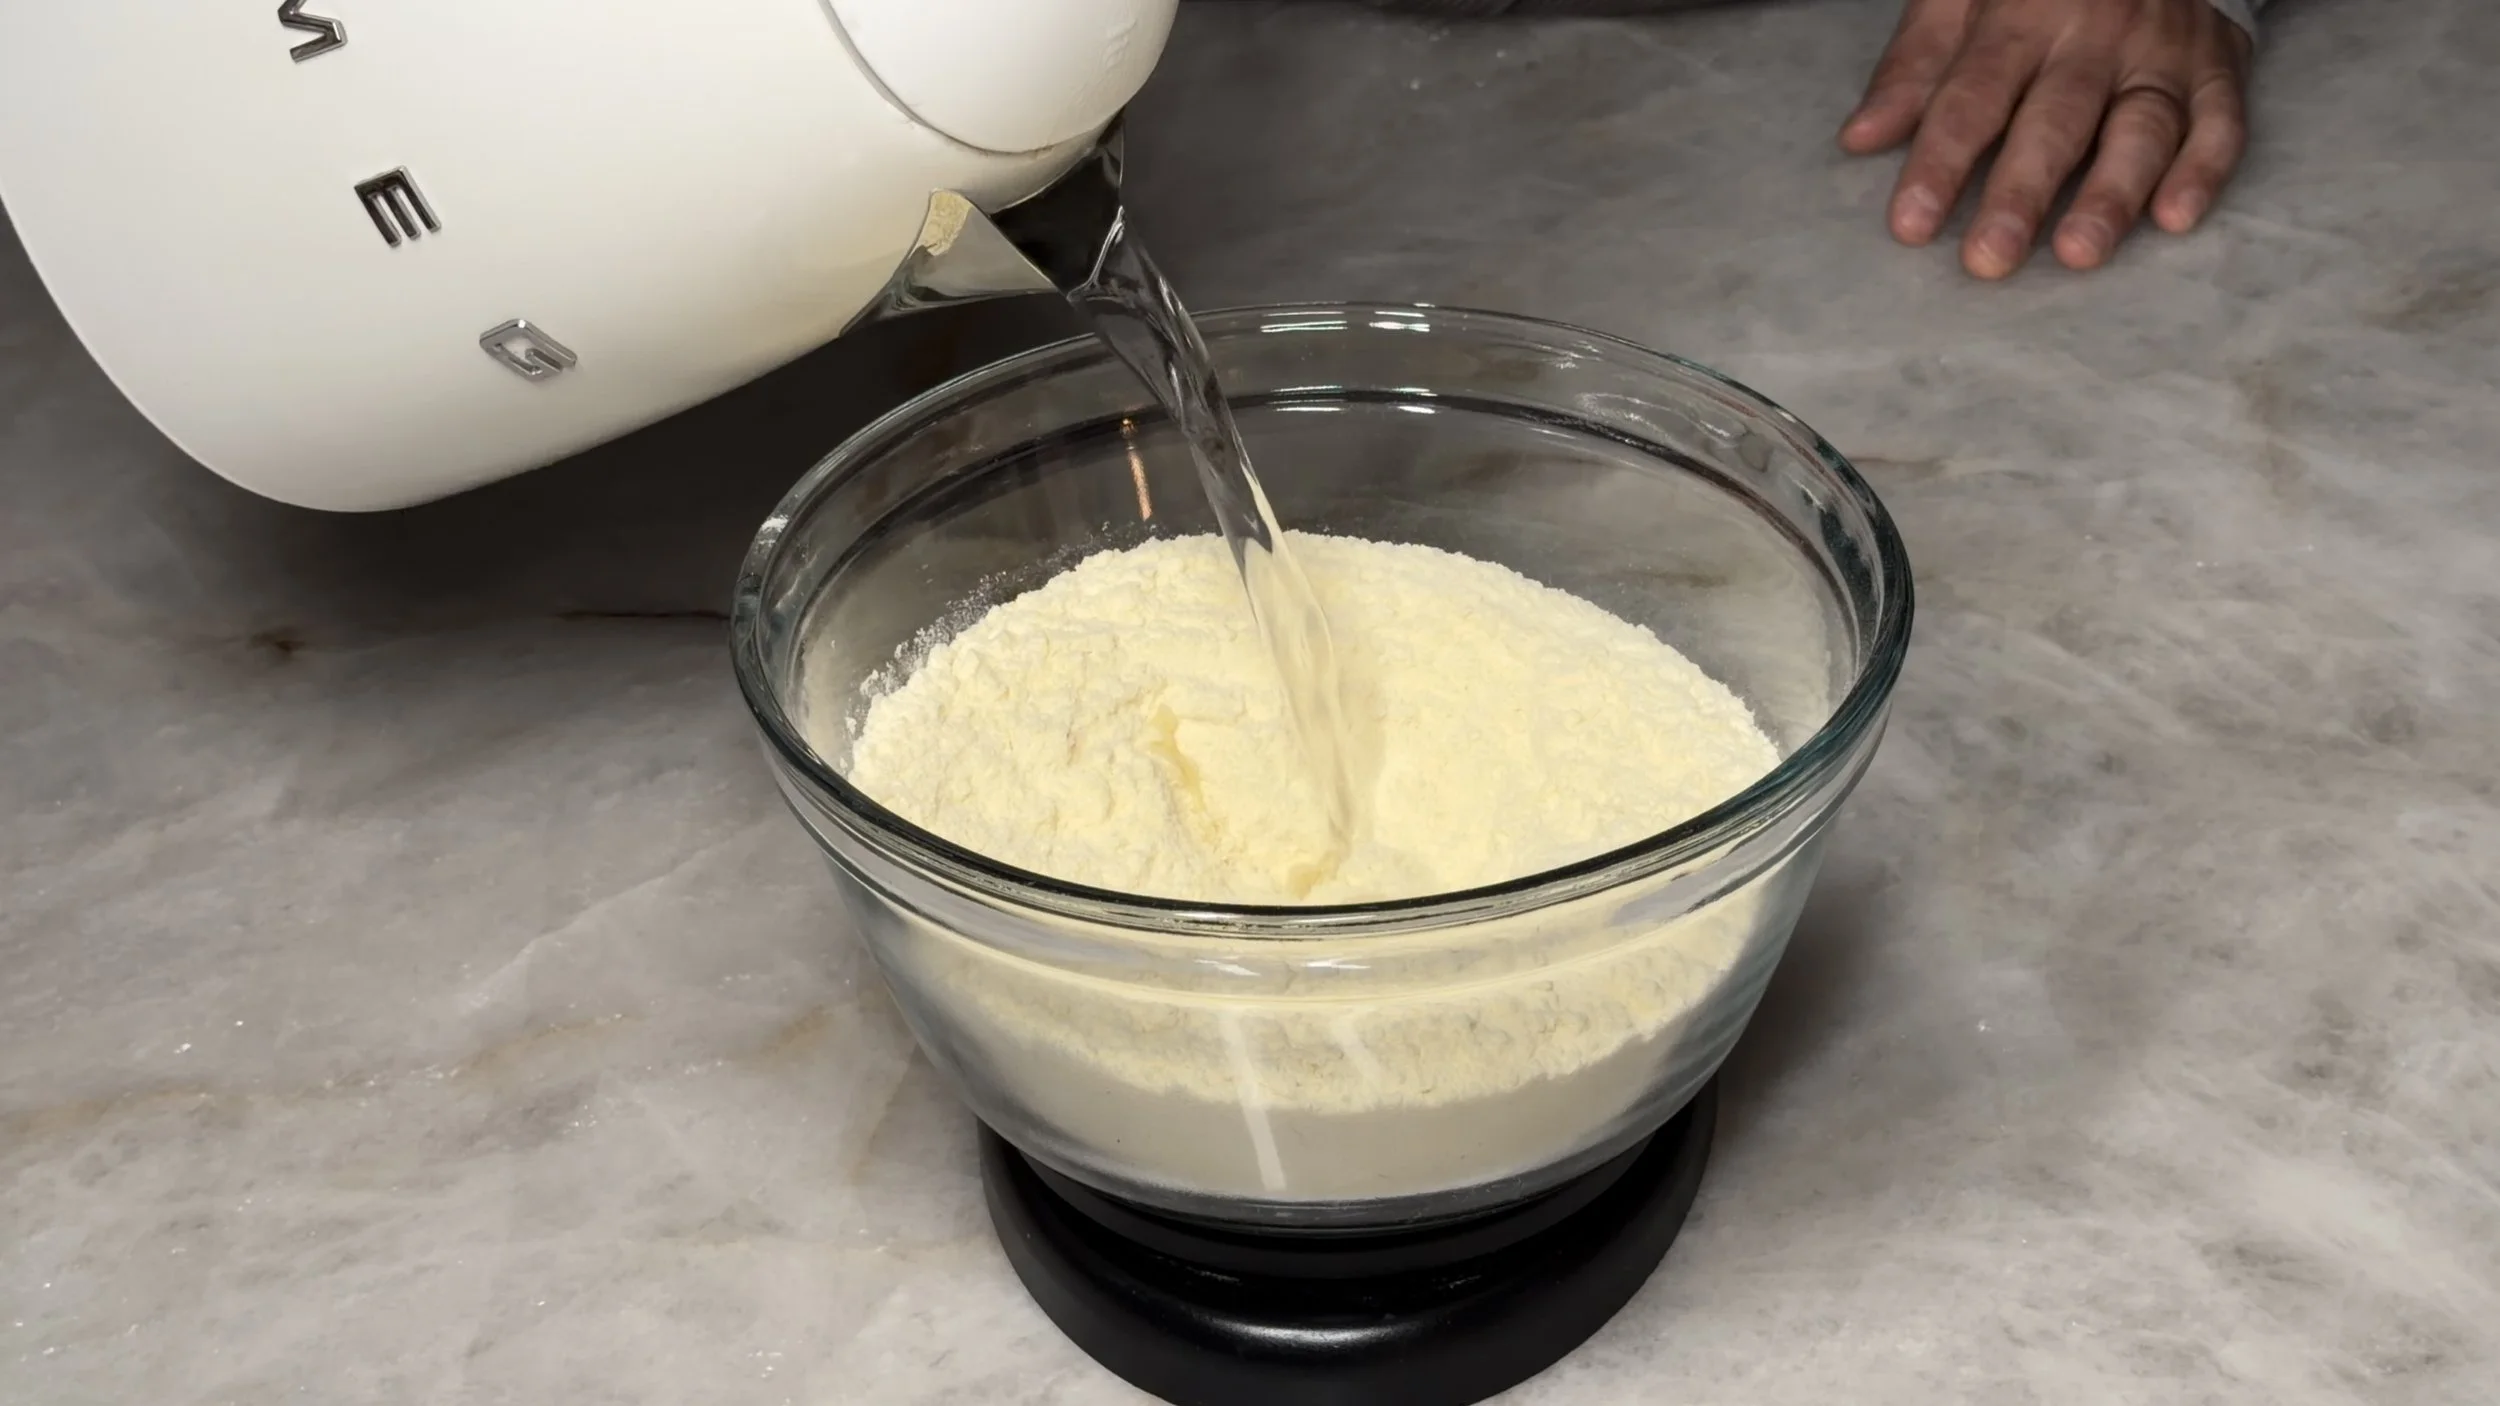
1. Weigh & Well
Start by weighing your semolina into a bowl and forming a well in the center.
2. Add Hot Water
Pour boiling water directly into the well.
The water must be extremely hot for proper absorption.
3. Initial Mix
Use a spoon or butter knife to stir until the mixture resembles wet sand.
Do not add extra water.
Low hydration dough always looks dry at first.
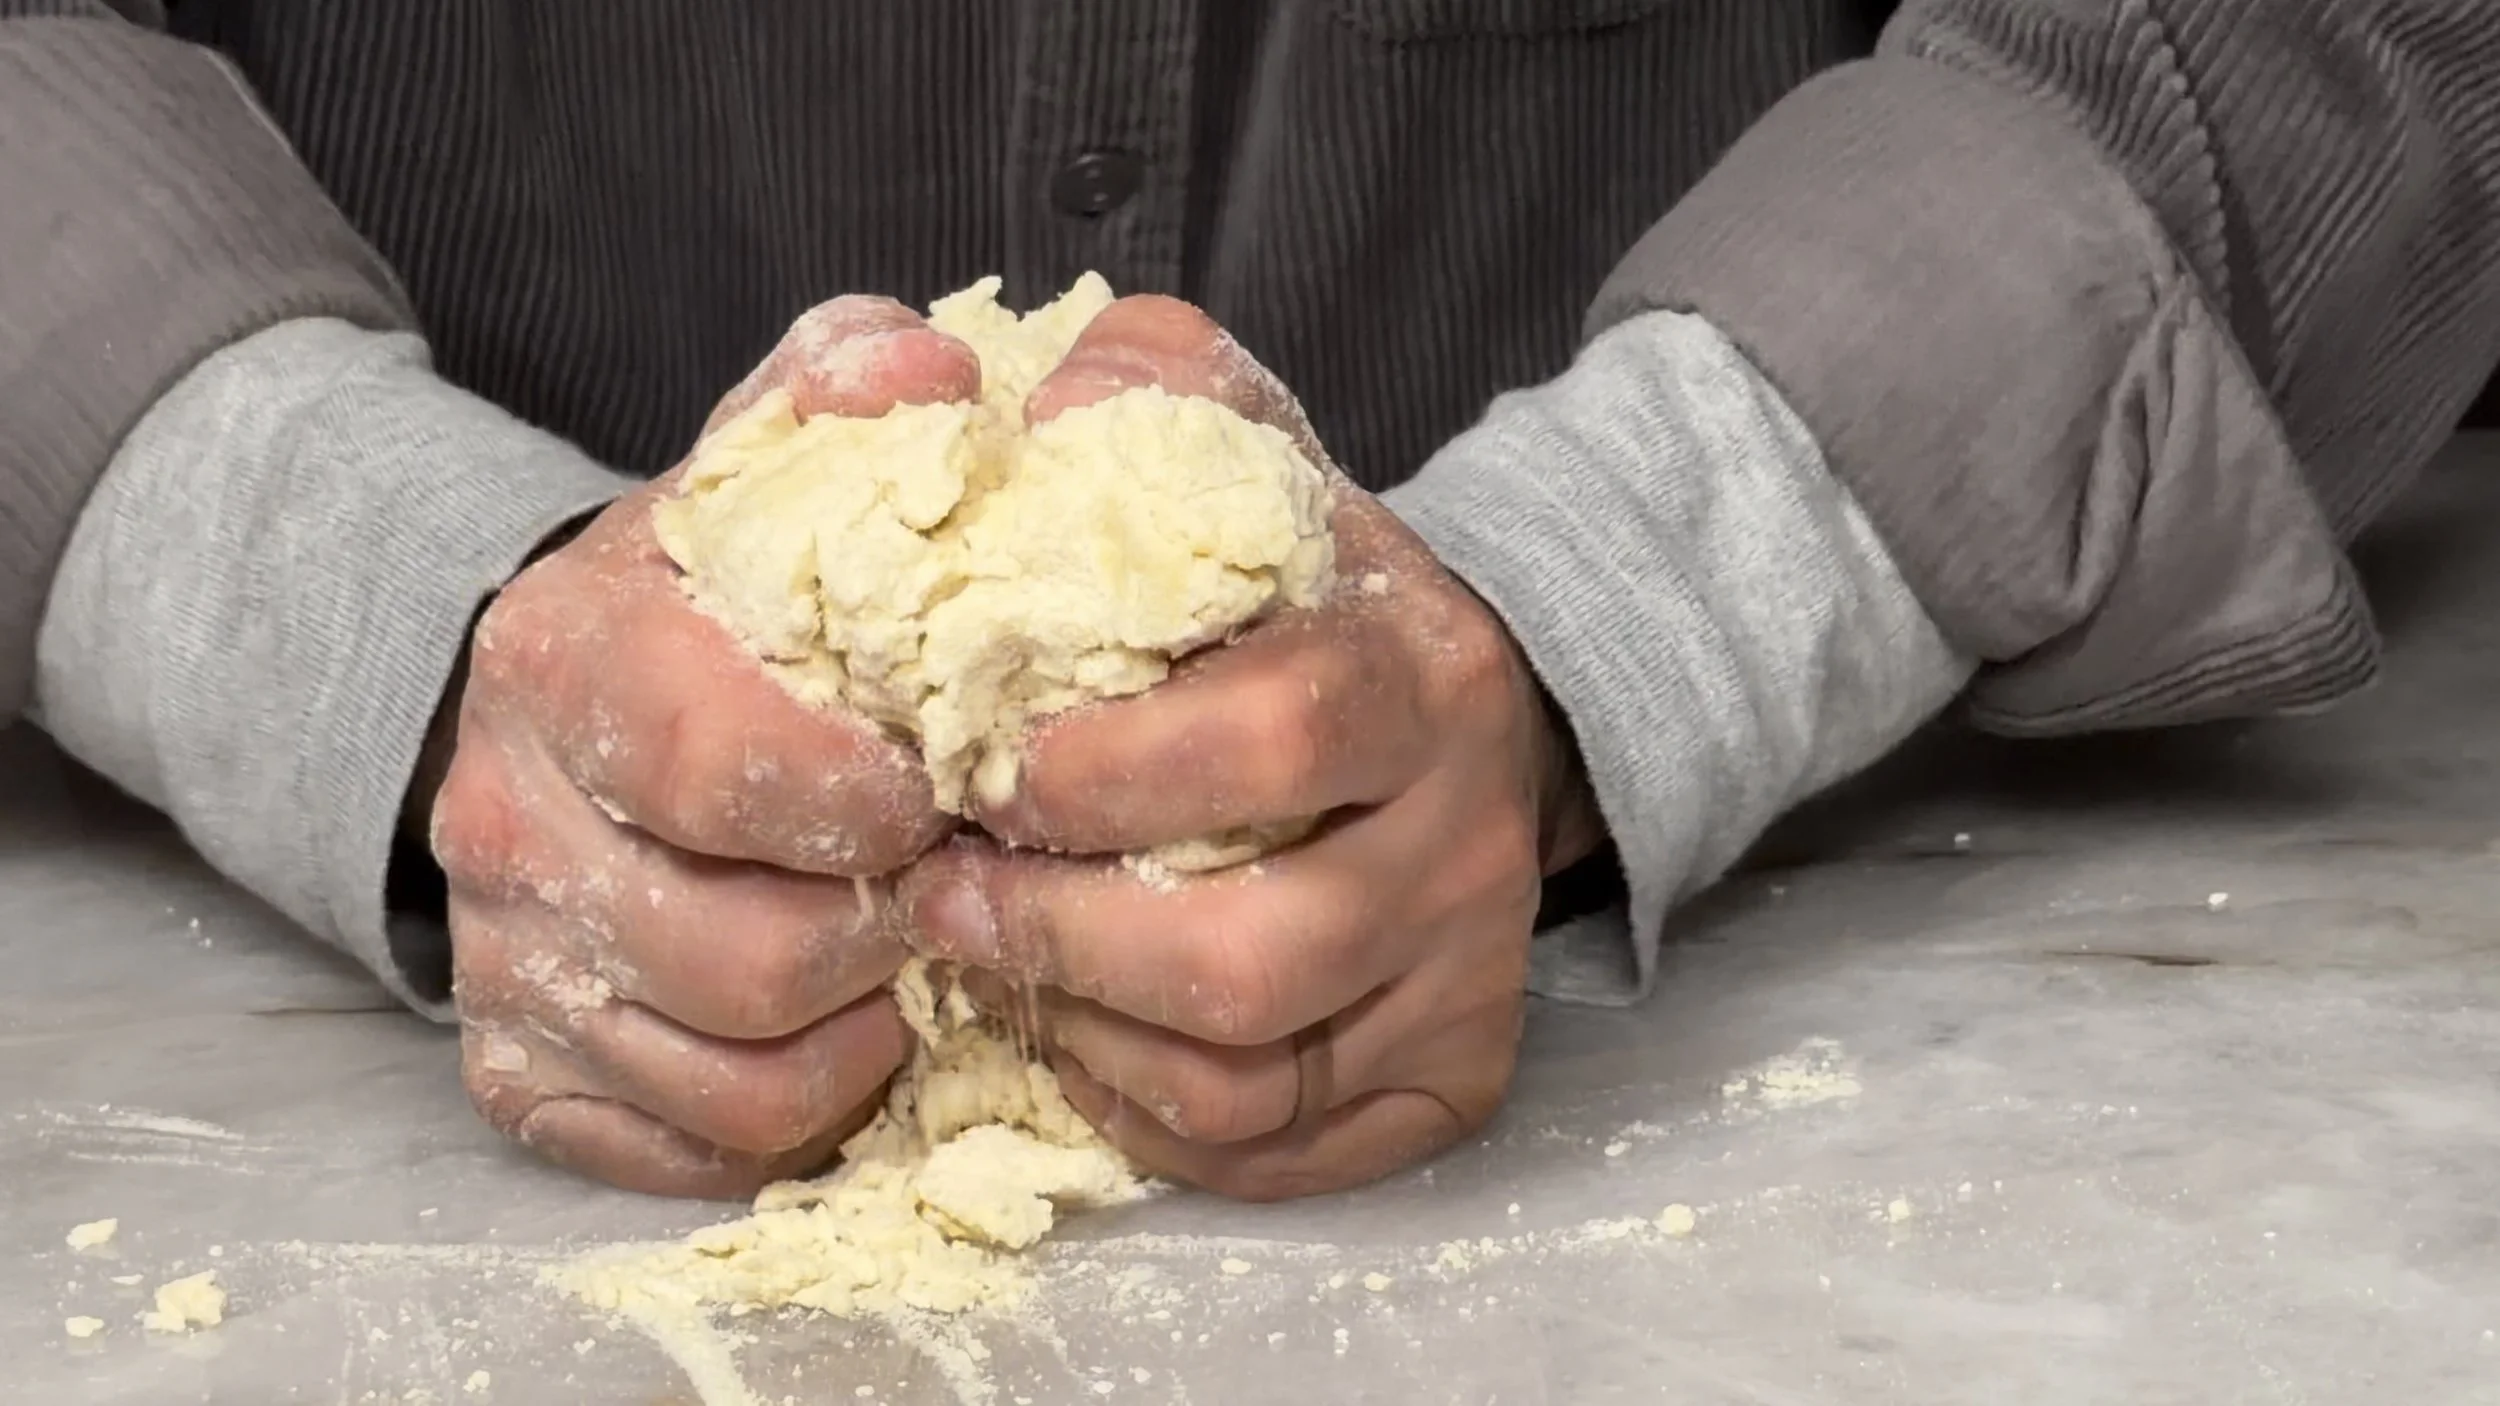
4. Compress
Once water is absorbed, press the mixture firmly with your fist to bring it together.
5. Knead
Turn the dough onto your countertop and knead using firm, continuous motions until a rough dough forms.
6. Rest
Let the dough rest for 10 minutes.
This relaxes the gluten and allows it to smooth out with additional kneading.
Lesson 4 — Optional: Mixer Method
If you prefer a smoother, faster workflow:
Use a KitchenAid with the dough hook
Mix until smooth
Allow the same 10-minute rest
Lesson 5 — The Vacuum-Seal Hydration Secret
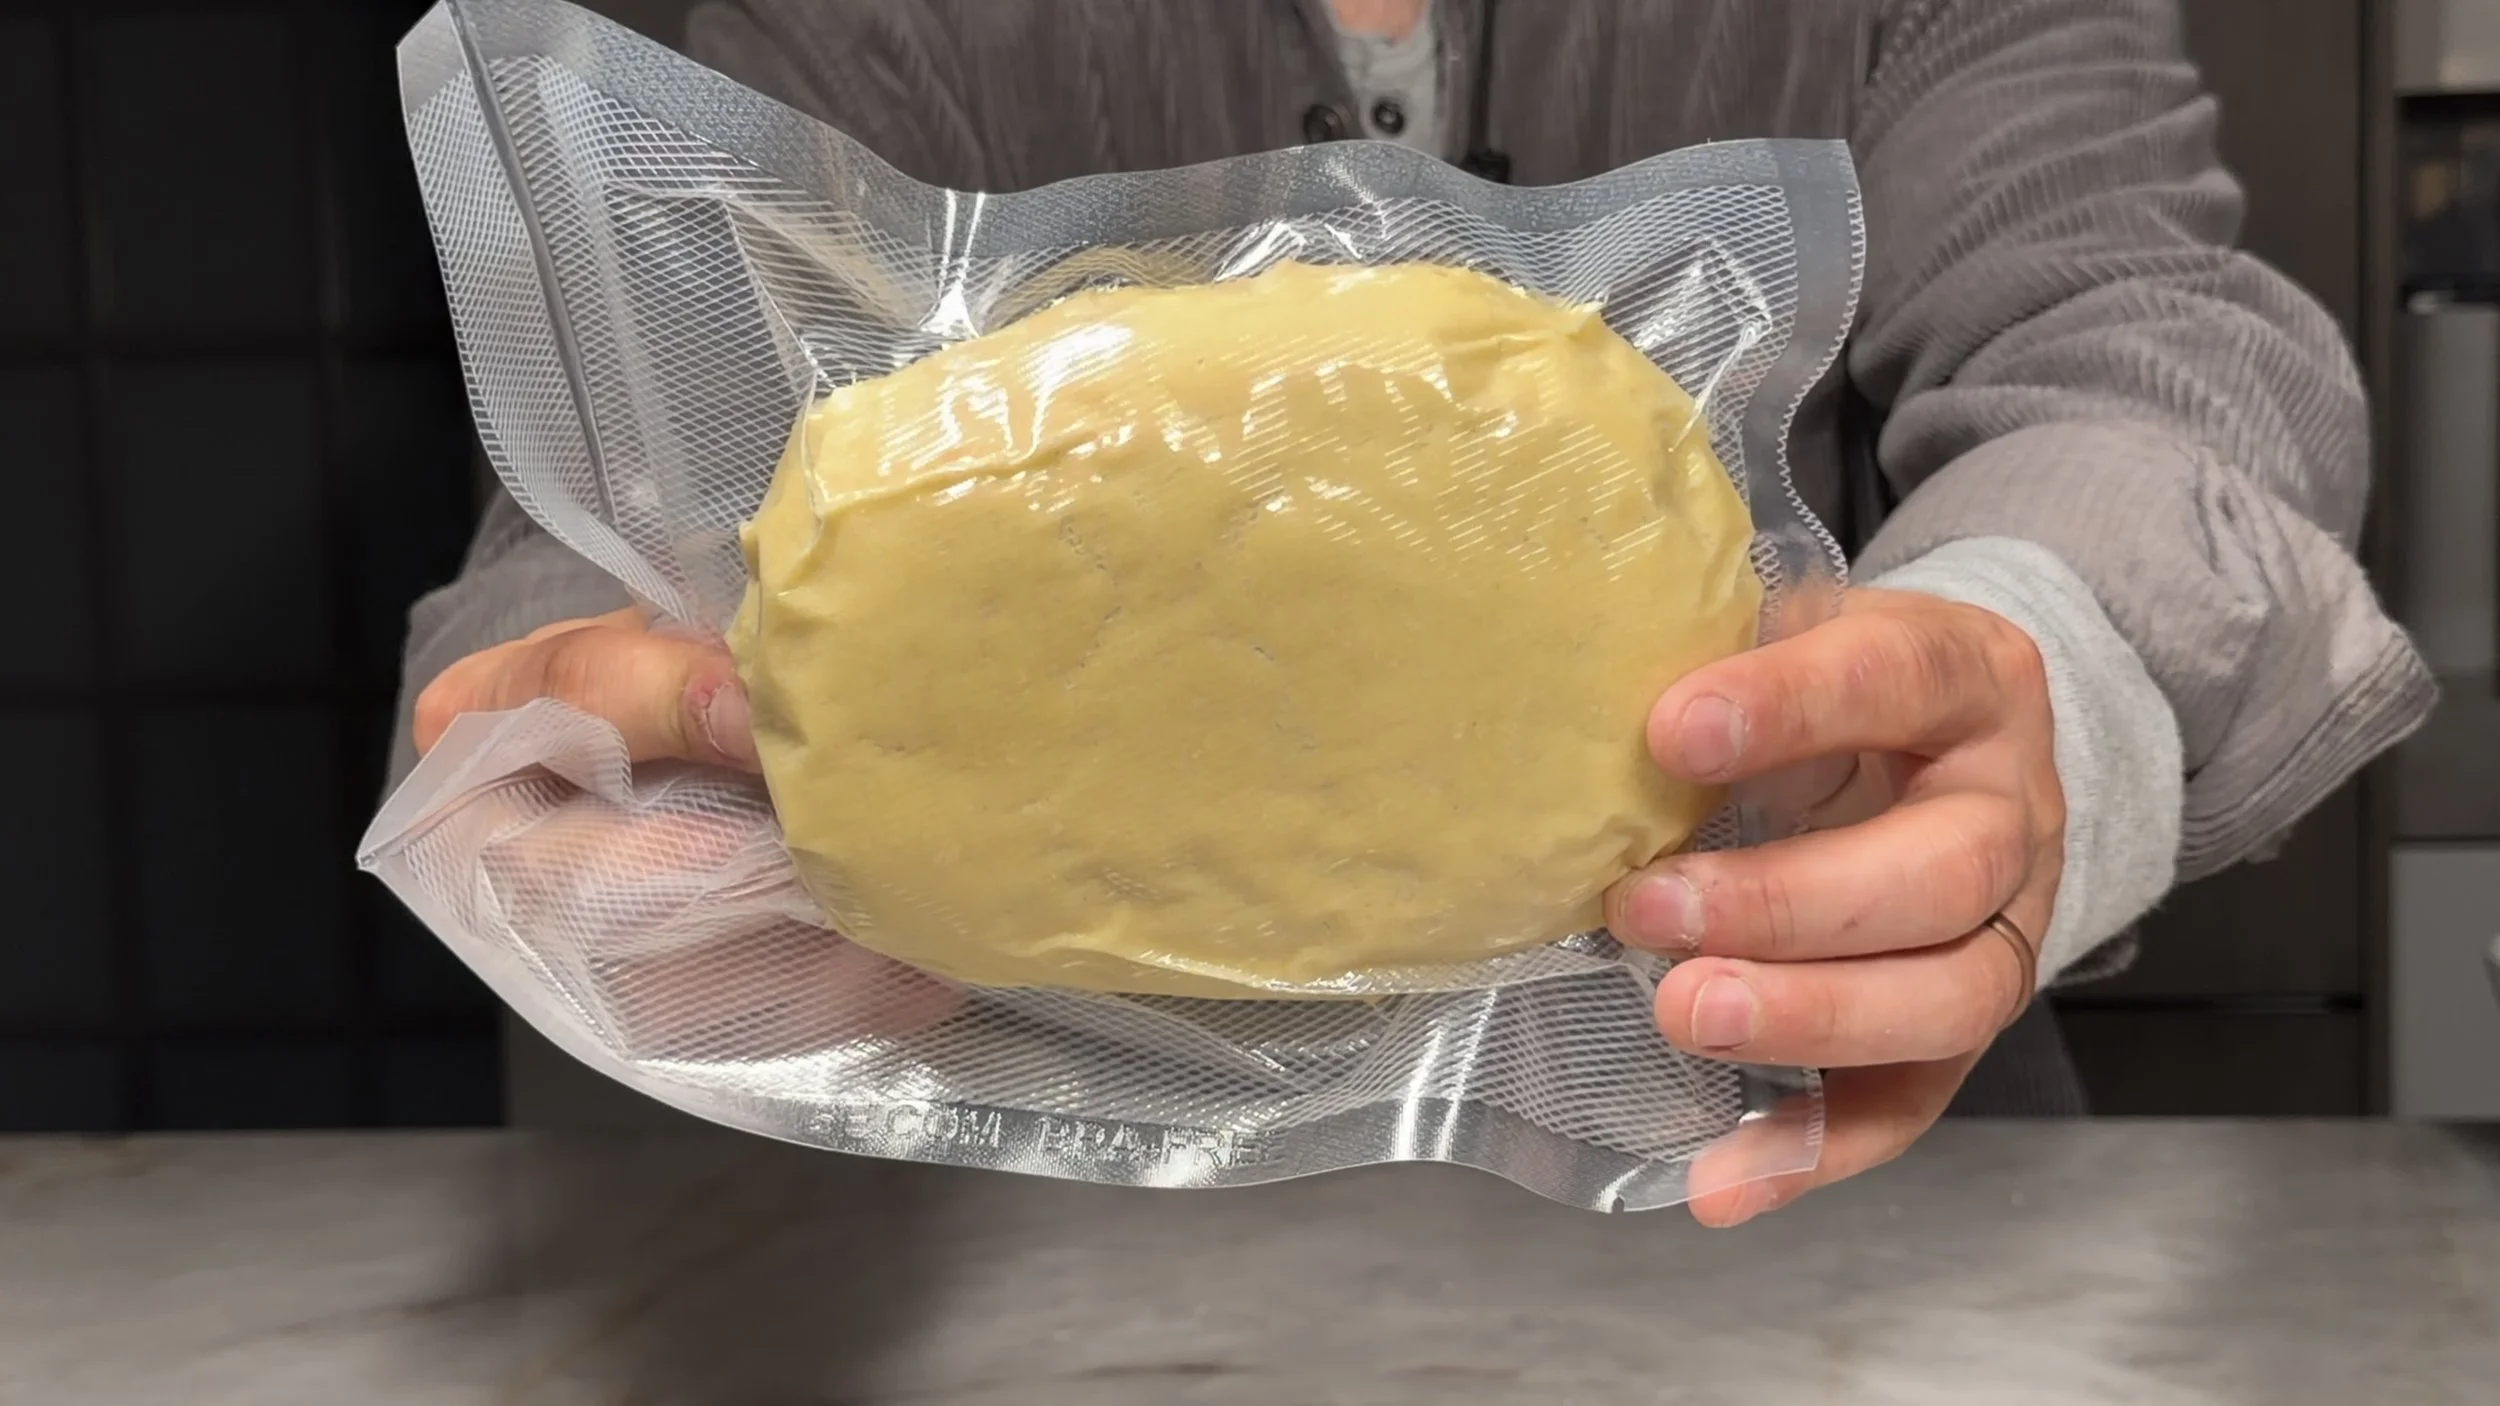
This is Chef Julian’s professional technique:
Why Use a Vacuum Sealer?
Removes all air
Forces full hydration
Eliminates cracks and rough surfaces
Creates a perfectly smooth dough
Allows storage up to 5 days in the fridge
How to Do It
Flatten the dough slightly
Place into a vacuum-seal bag
Seal completely
Refrigerate overnight or up to five days
You will notice the dough becomes silky, tight, and perfectly workable the next day.
Lesson 6 — Rolling the Ropes
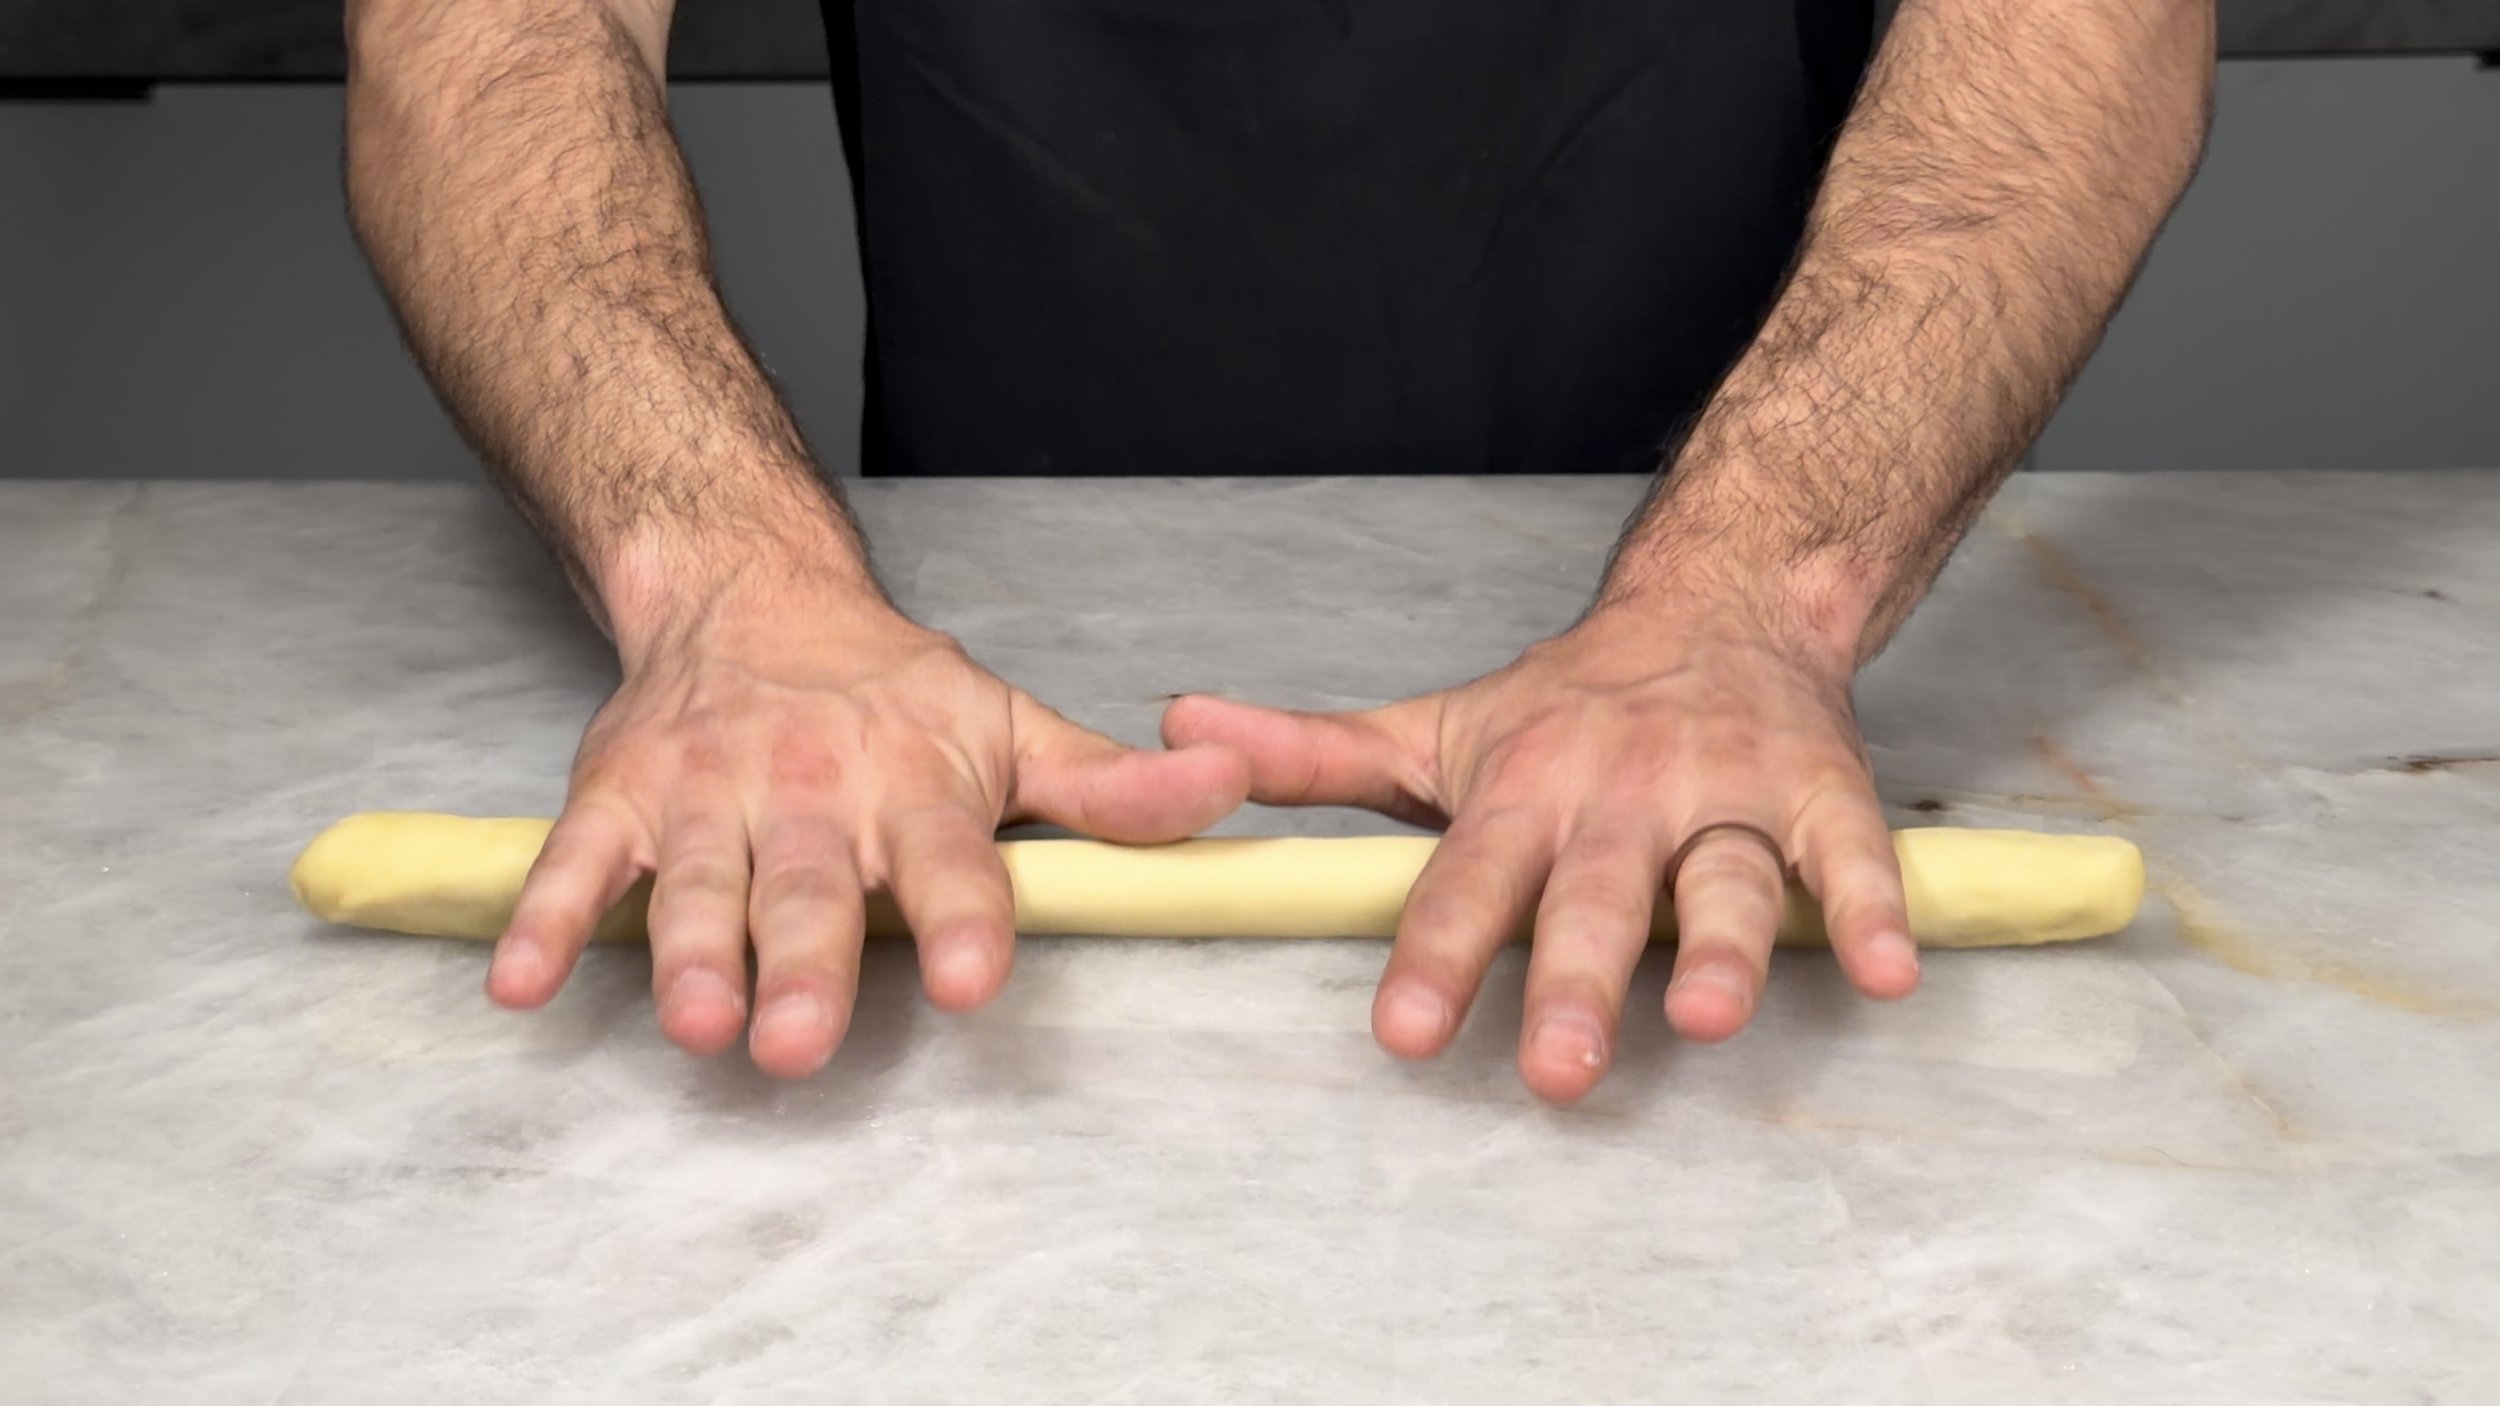
Once the dough is chilled:
1. Cut the Dough
Slice the dough into four equal sections.
2. Pre-Press
Form each section into rough flat strips using your fist.
This strengthens gluten structure.
3. Roll
Roll each strip into a rope using overlapping hands.
Use steady pressure and maintain even thickness.
Aim for finger-width diameter.
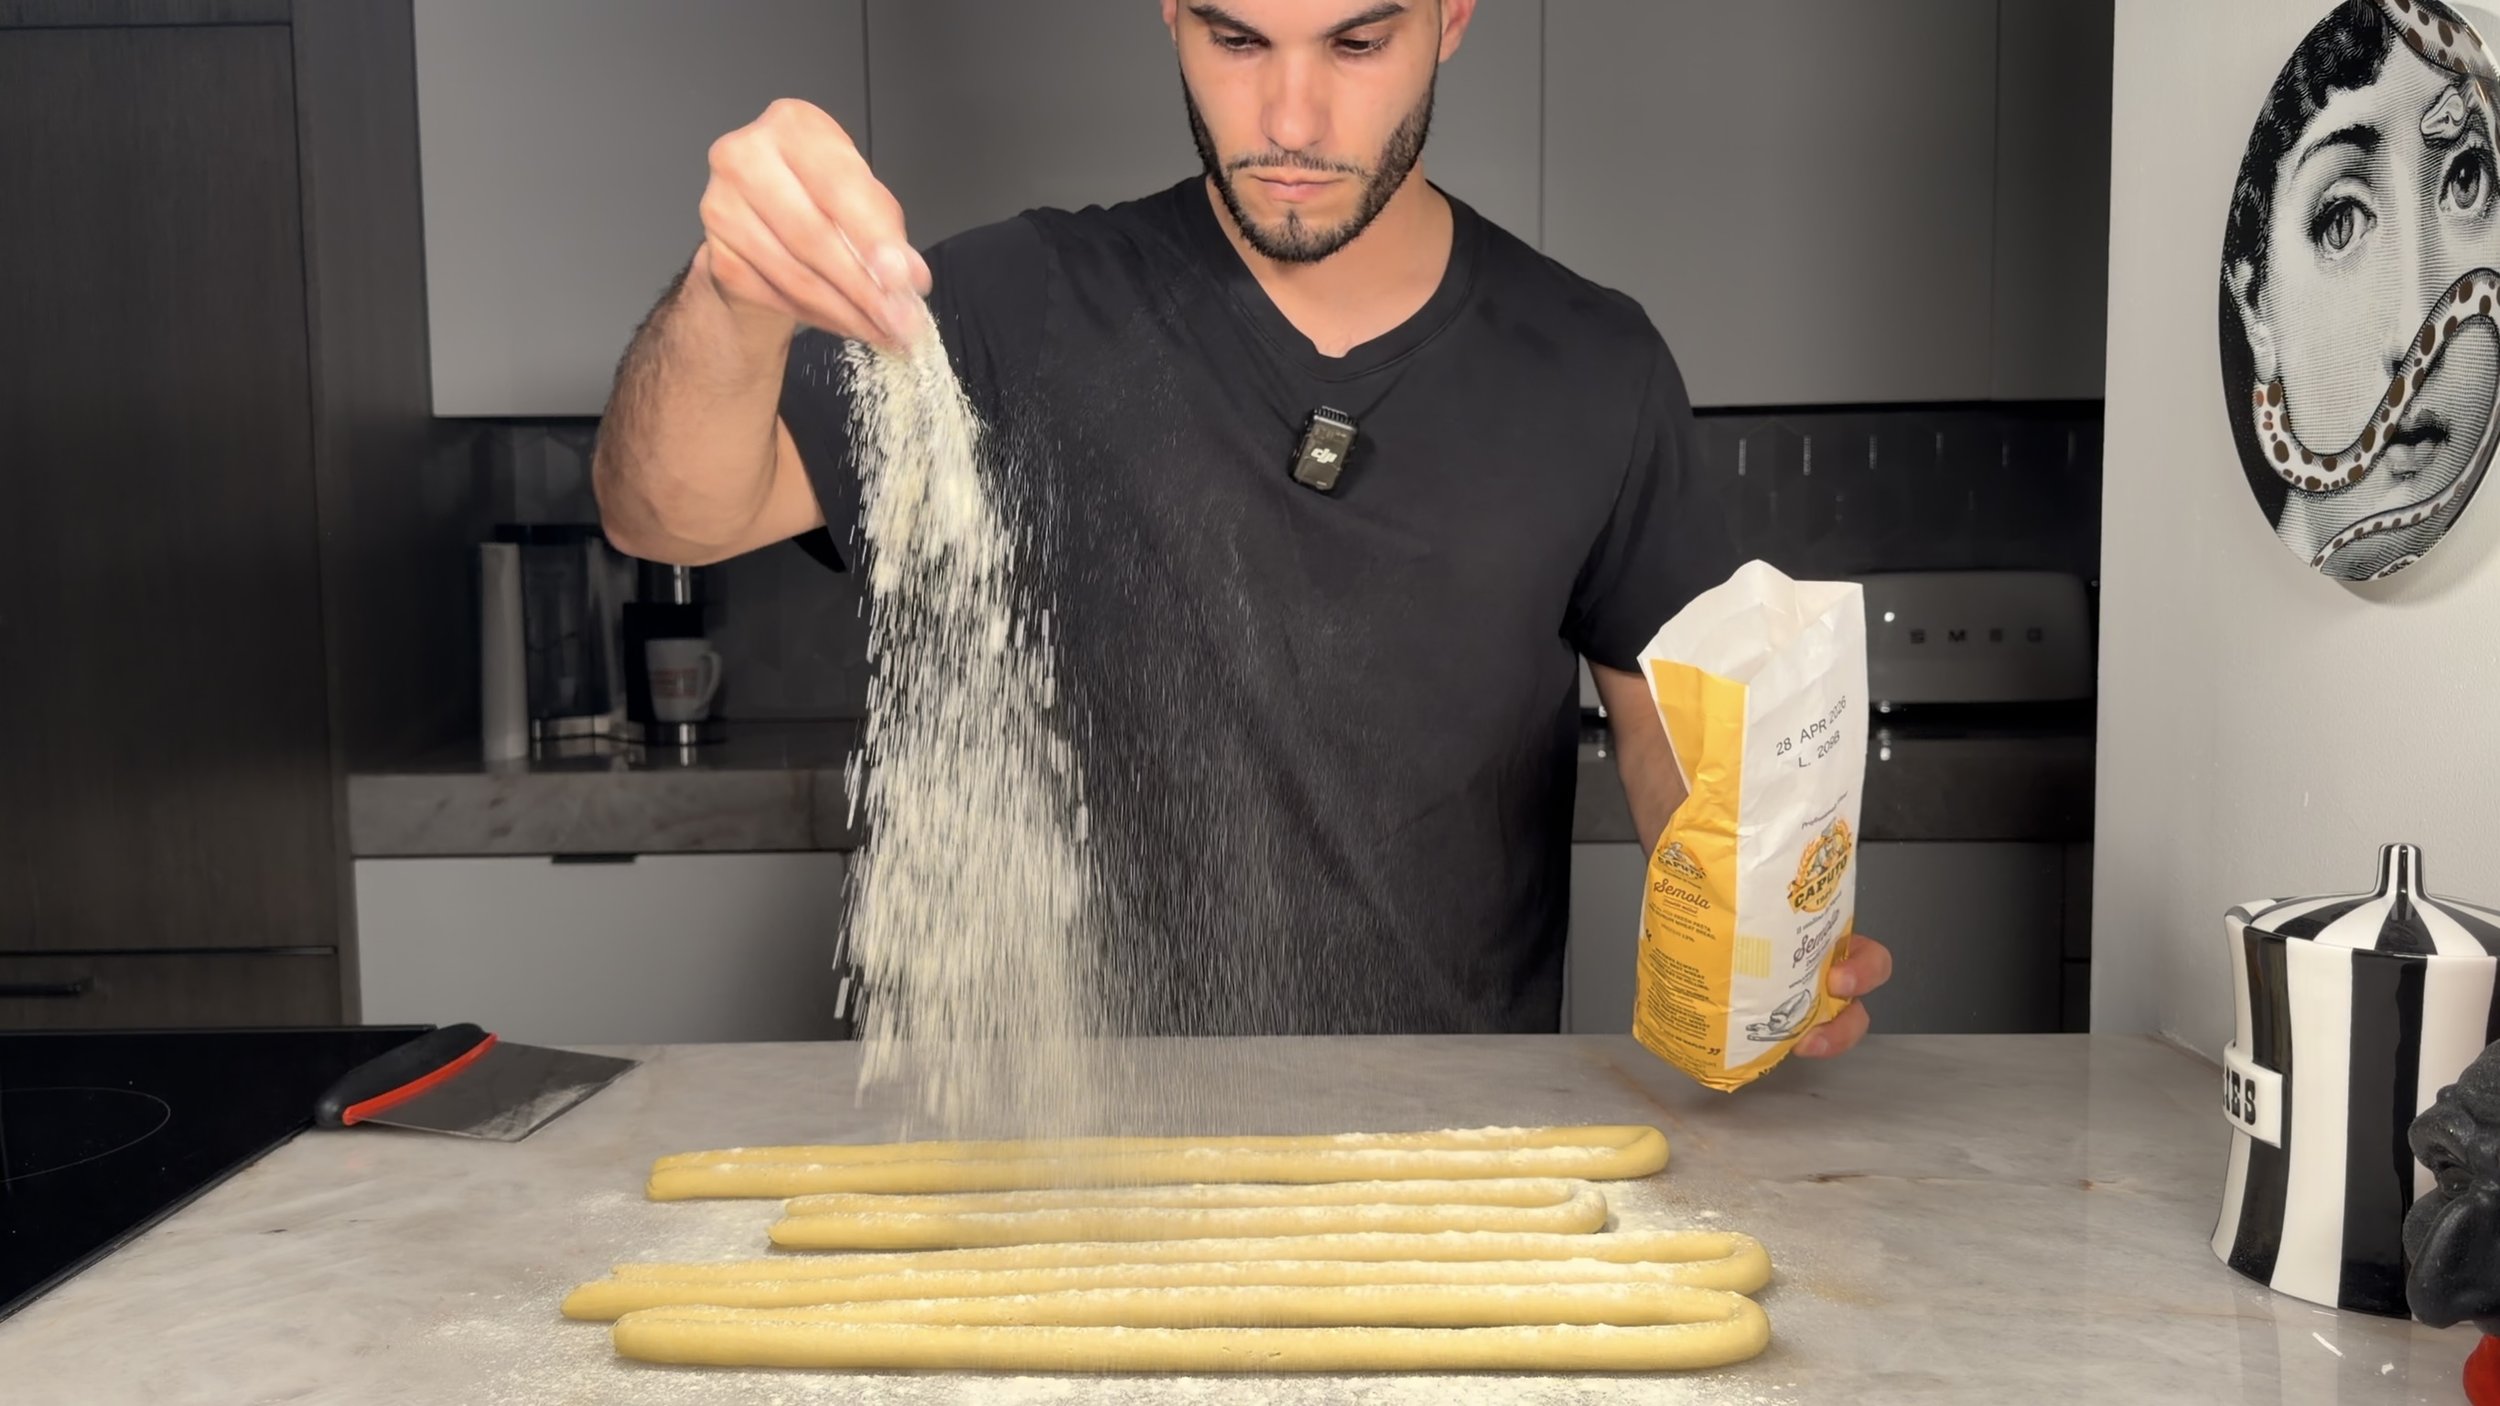
4. Dust
Dust ropes generously with semolina so they remain dry and easy to cut.
Lesson 7 — Making Cavatelli with the Machine
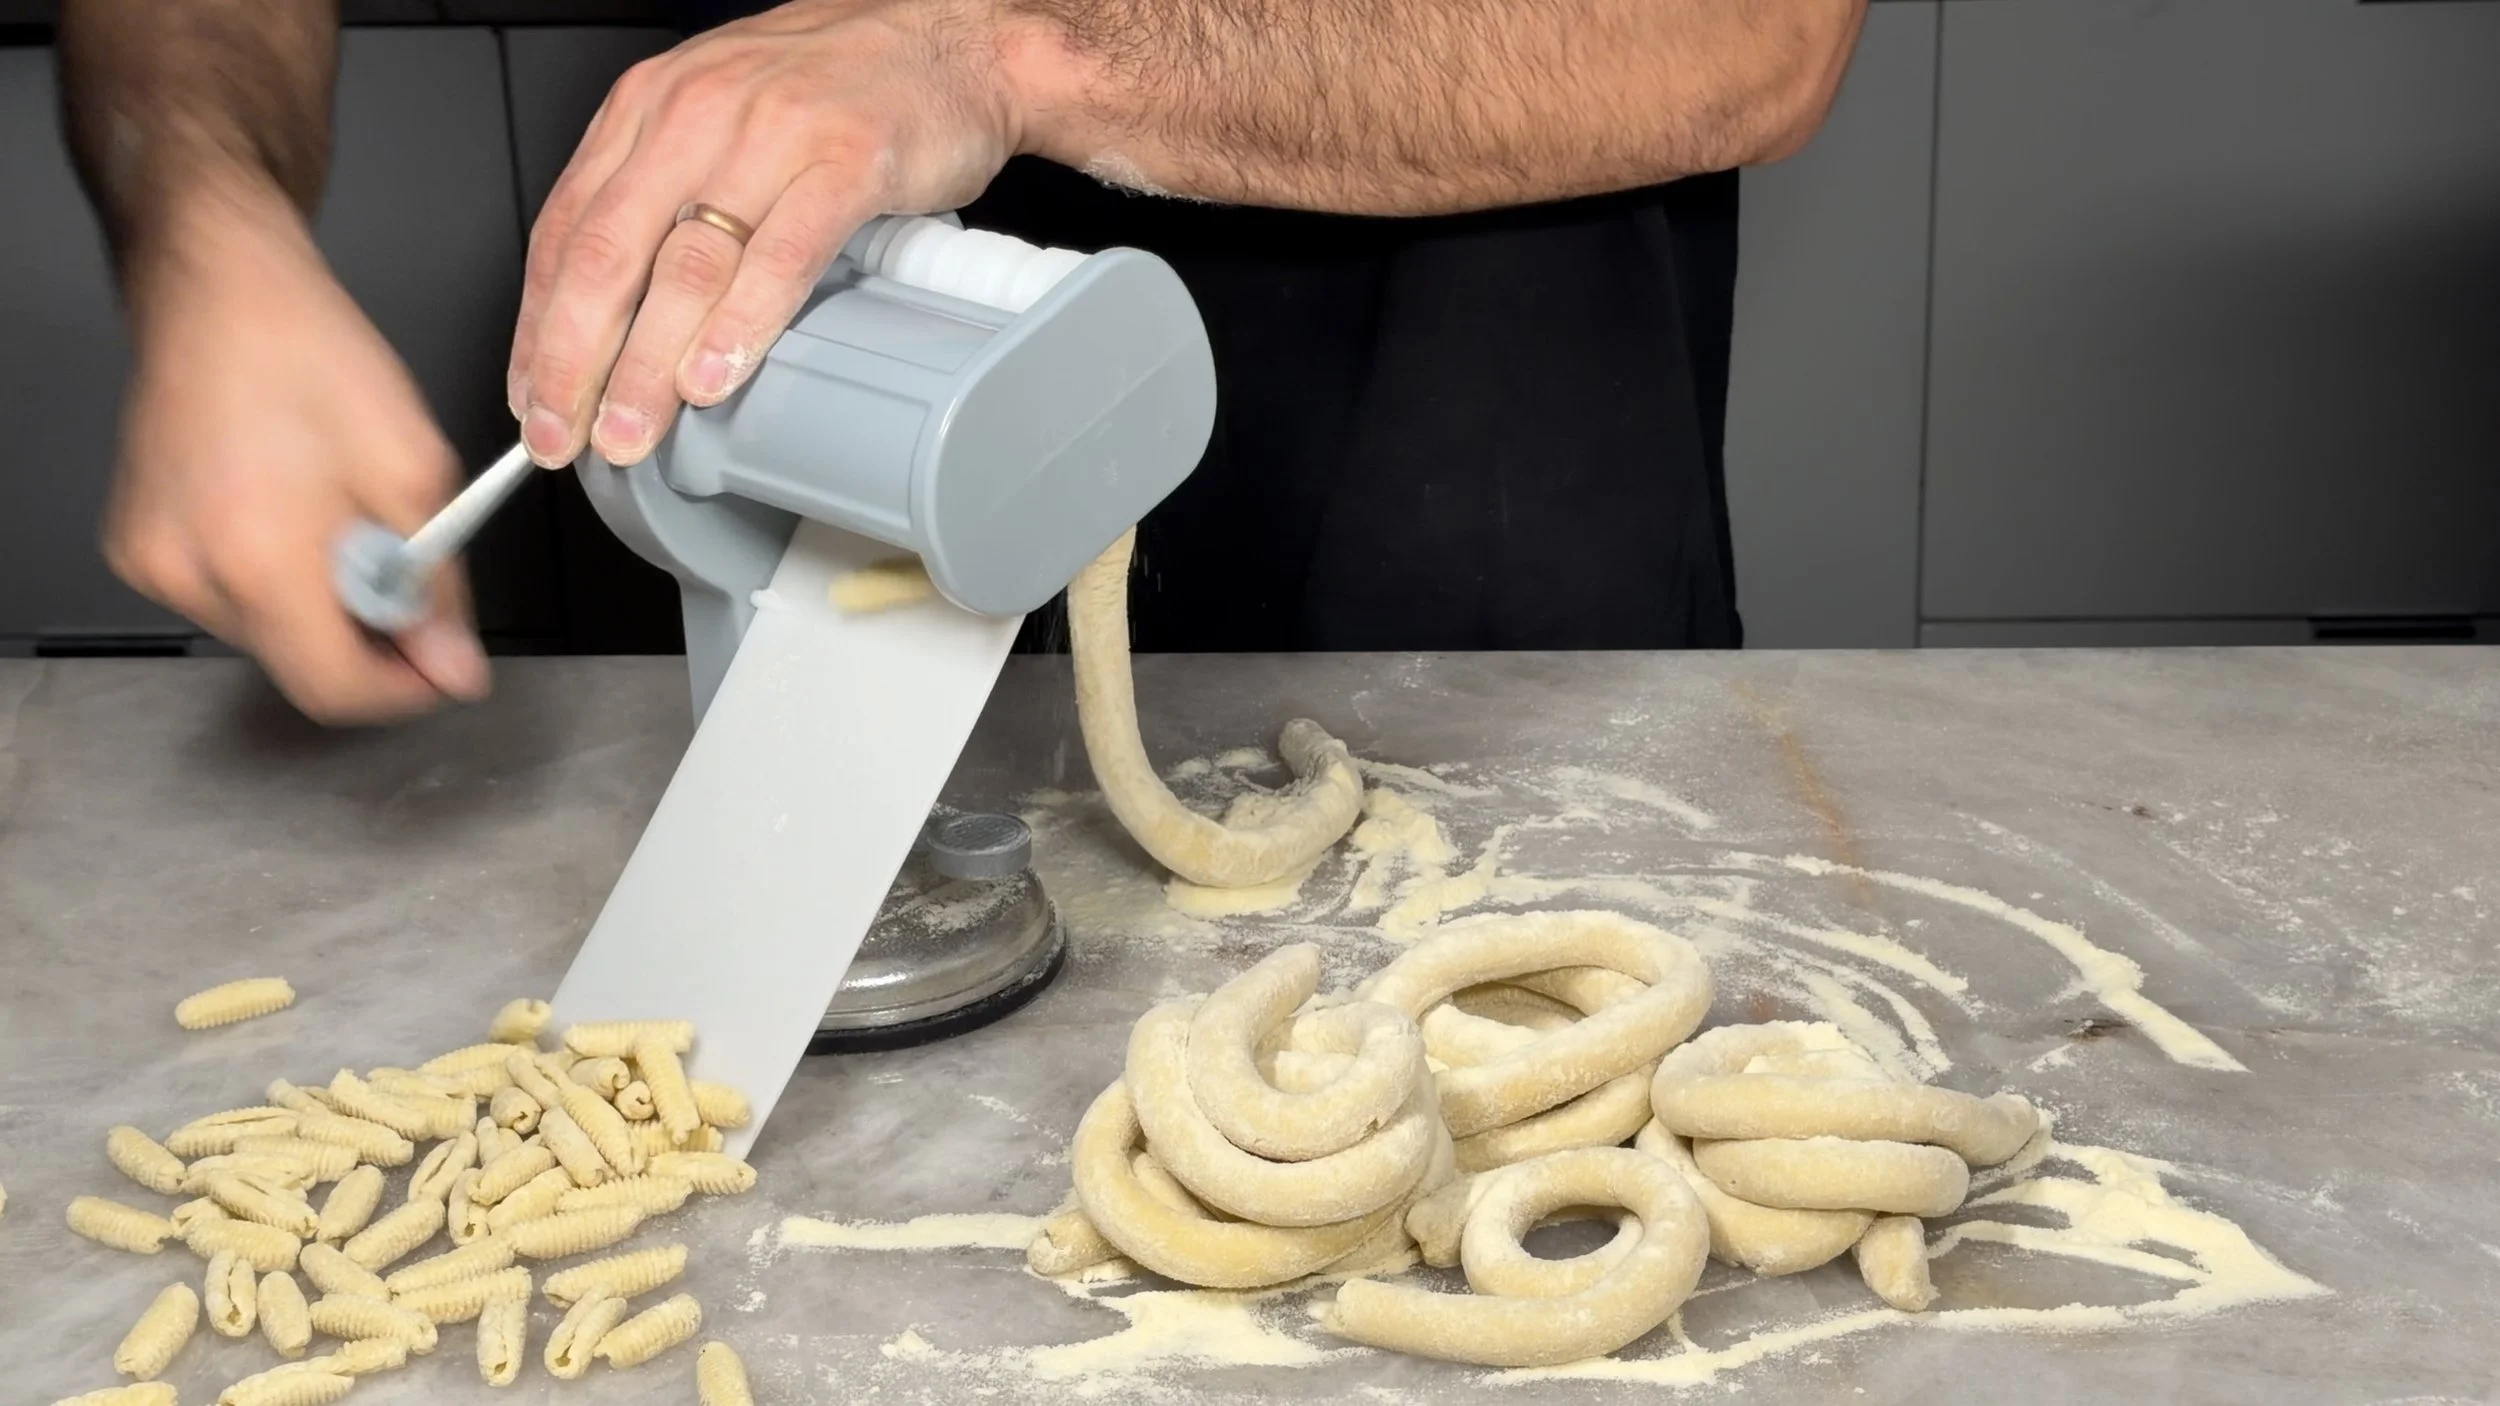
Chef Julian’s recommended machine features:
A suction cup for stability
A ramp for clean feeding
A central ridged section for classic texture
How to Use It
Position your non-dominant hand on the ramp
Use your dominant hand to crank
Feed the rope smoothly
Maintain rhythm for evenly shaped cavatelli
Dust finished pieces with semolina.
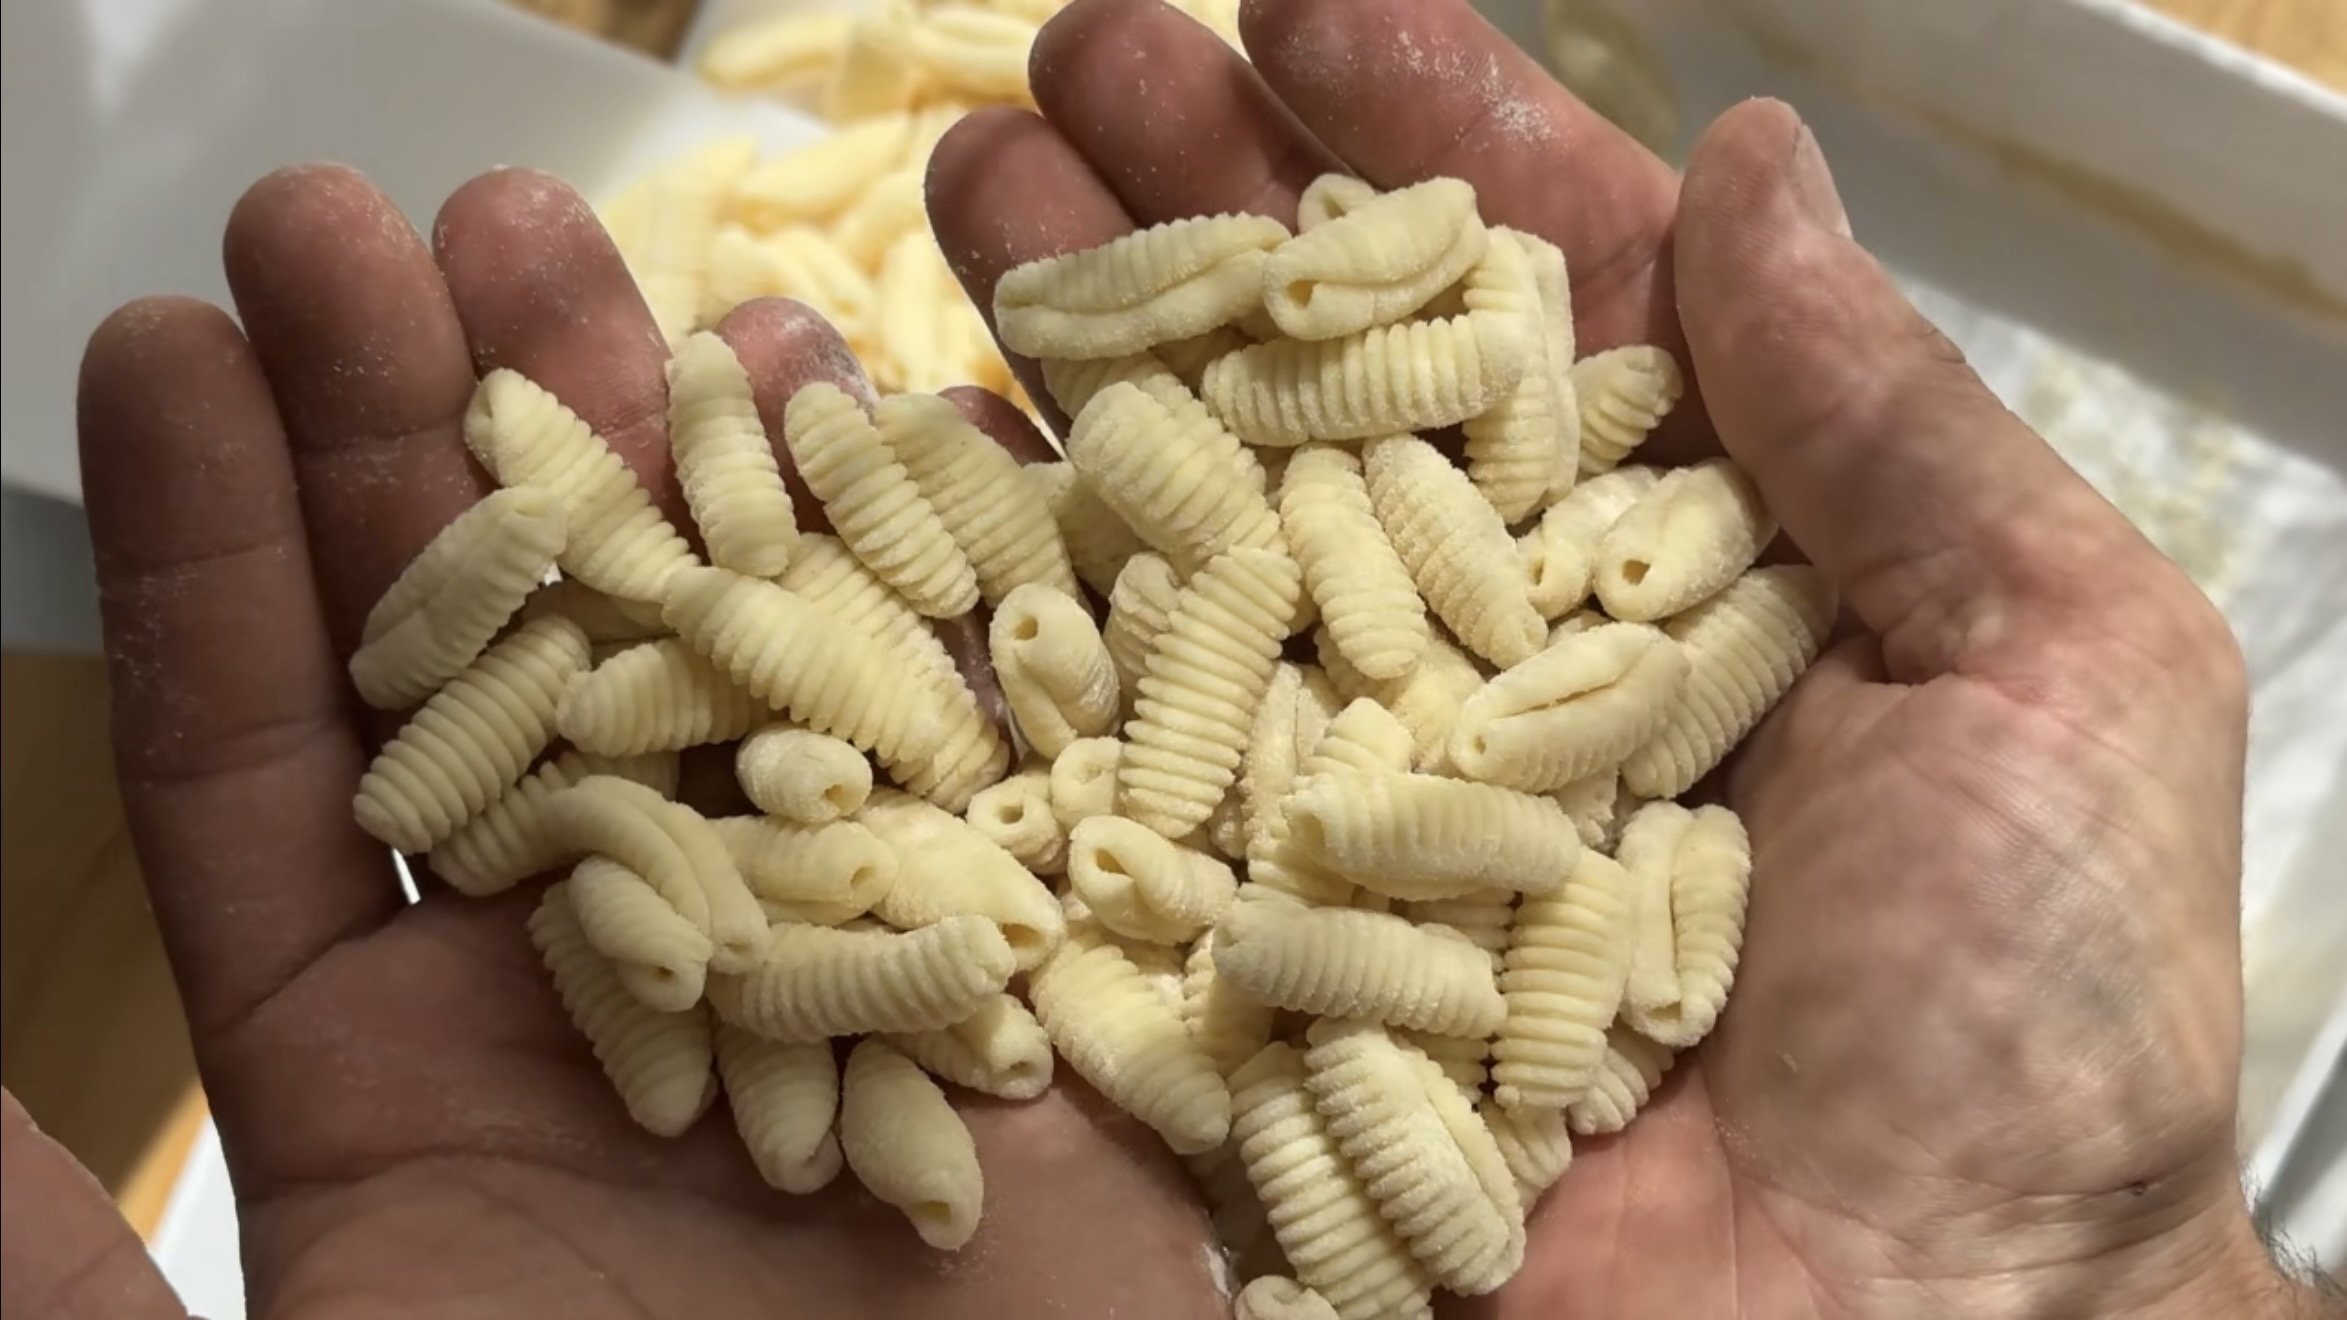
Lesson 8 — Making Cavatelli by Hand
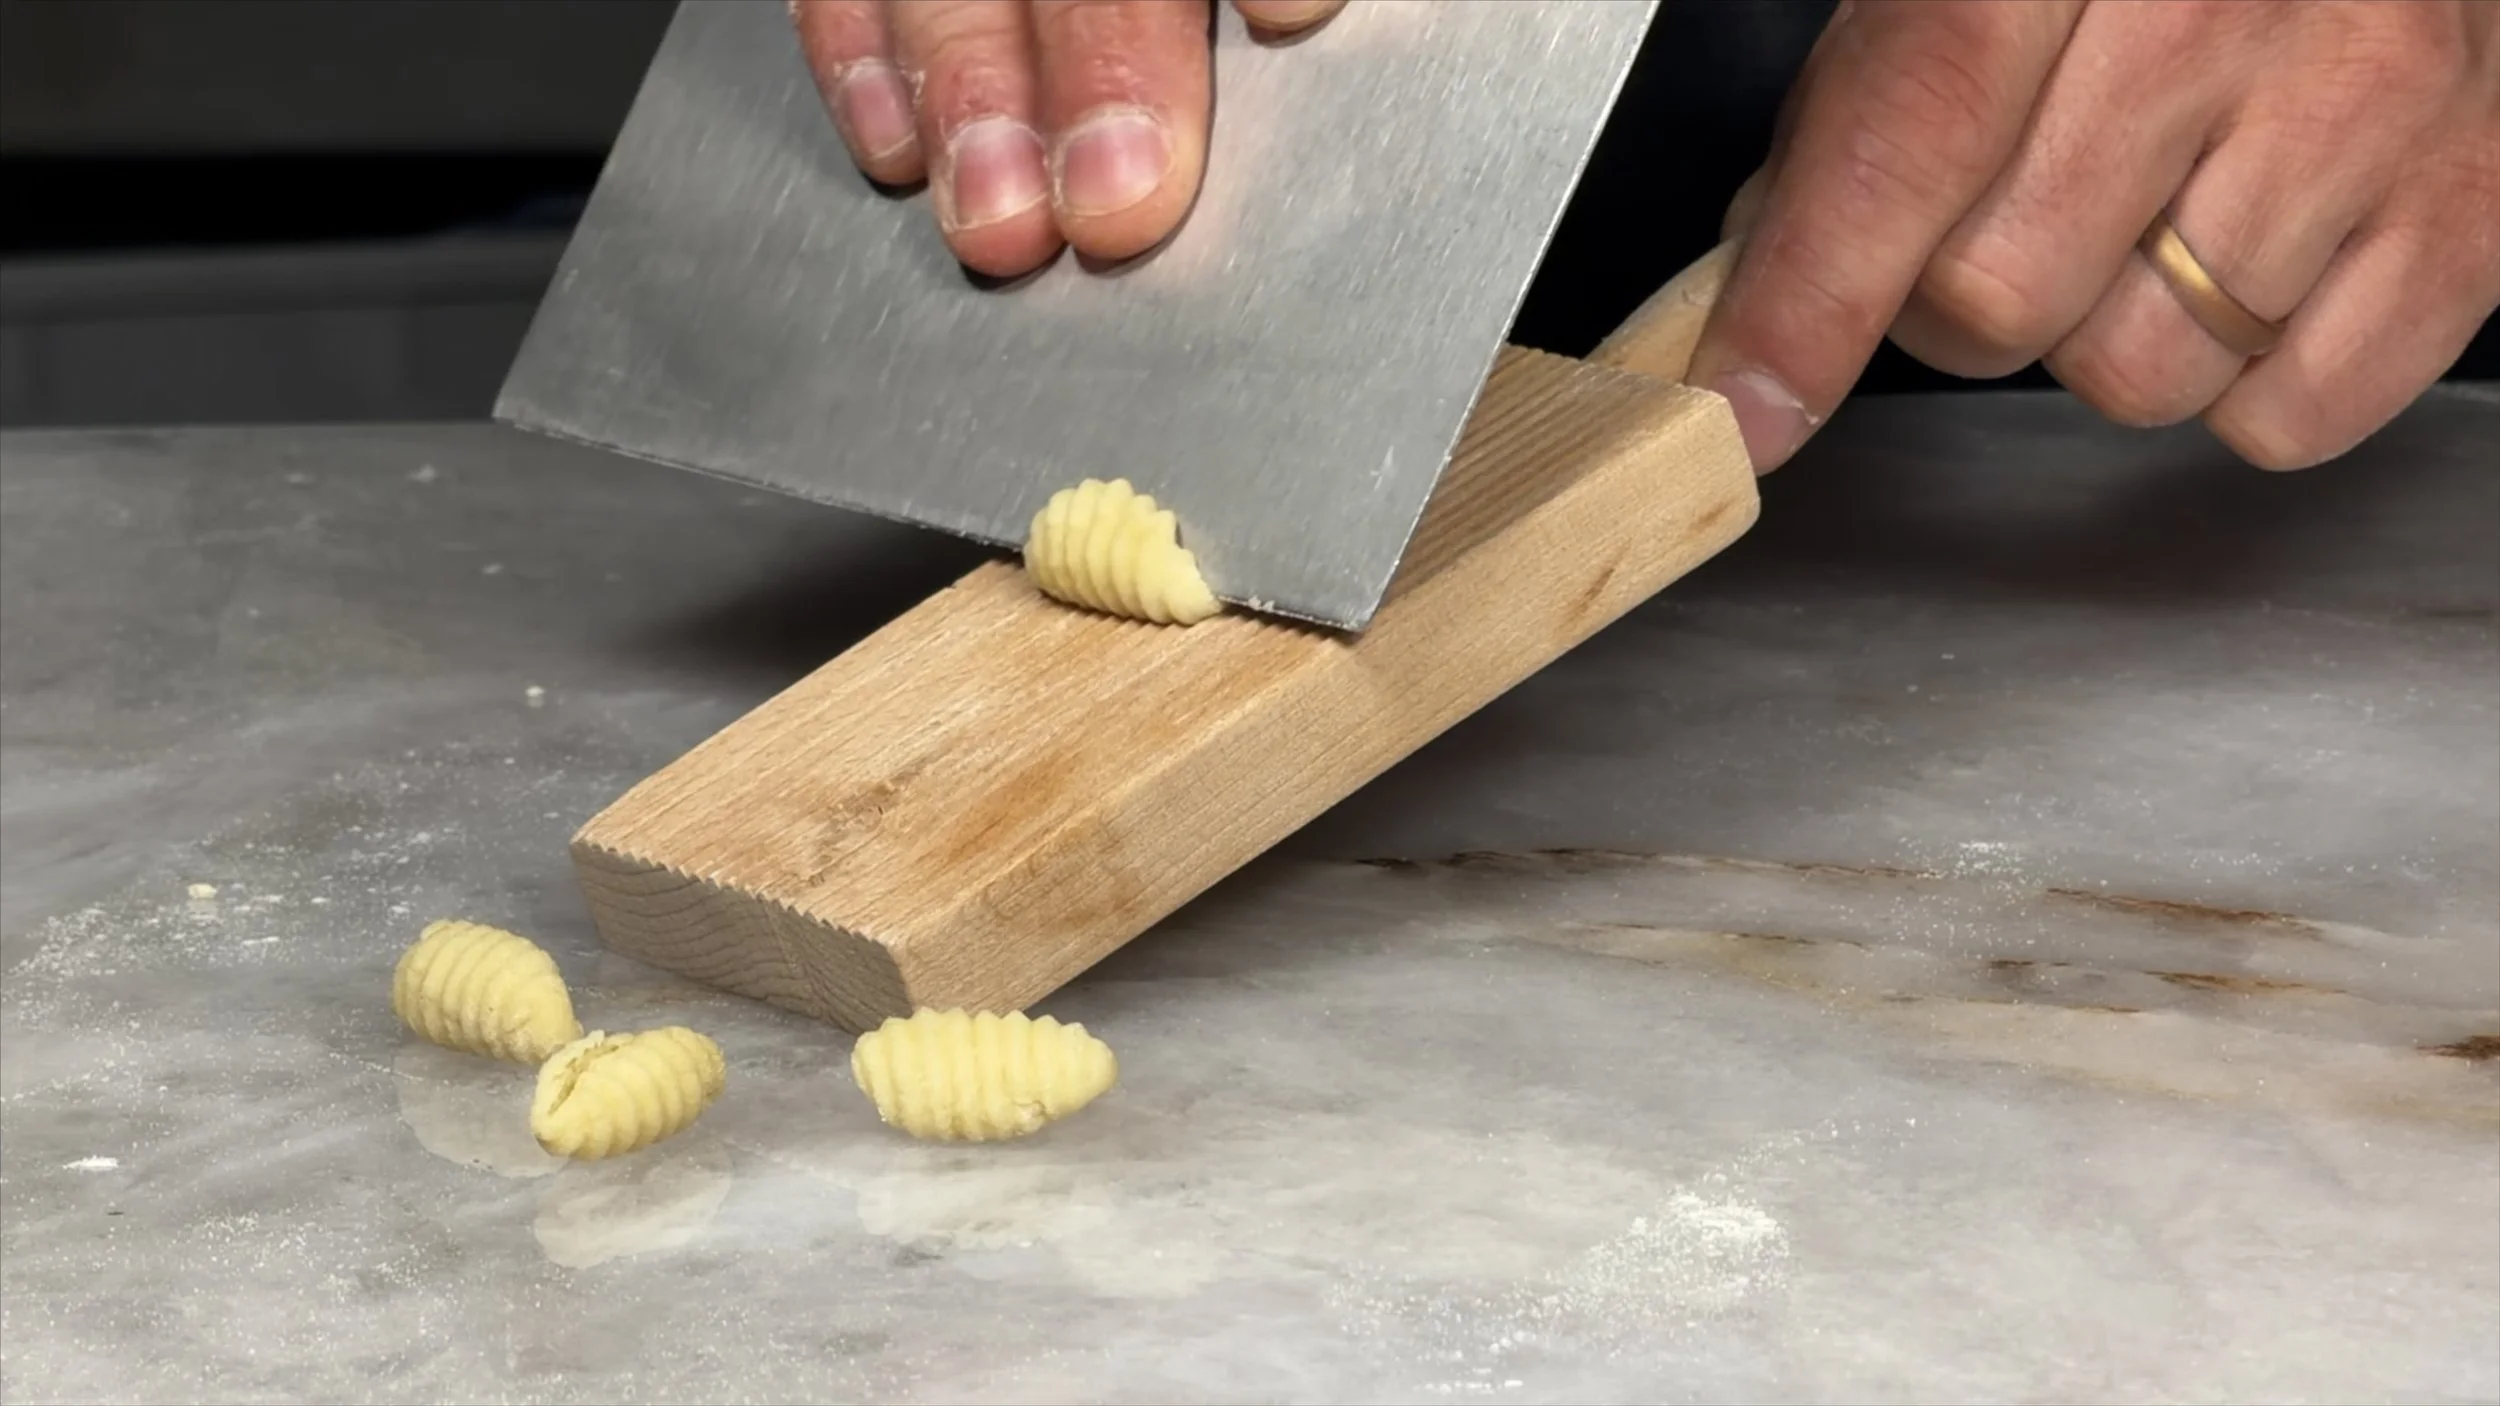
If you don’t have a machine:
Hand Technique
Cut dough into small “pebbles”
Round slightly
Use a knife or bench scraper
Pull back at a 45° angle
Dough will naturally curl
Use a gnocchi board for ridges (optional)
This creates traditional hand-rolled cavatelli.
Lesson 9 — Roman-Style Sauce
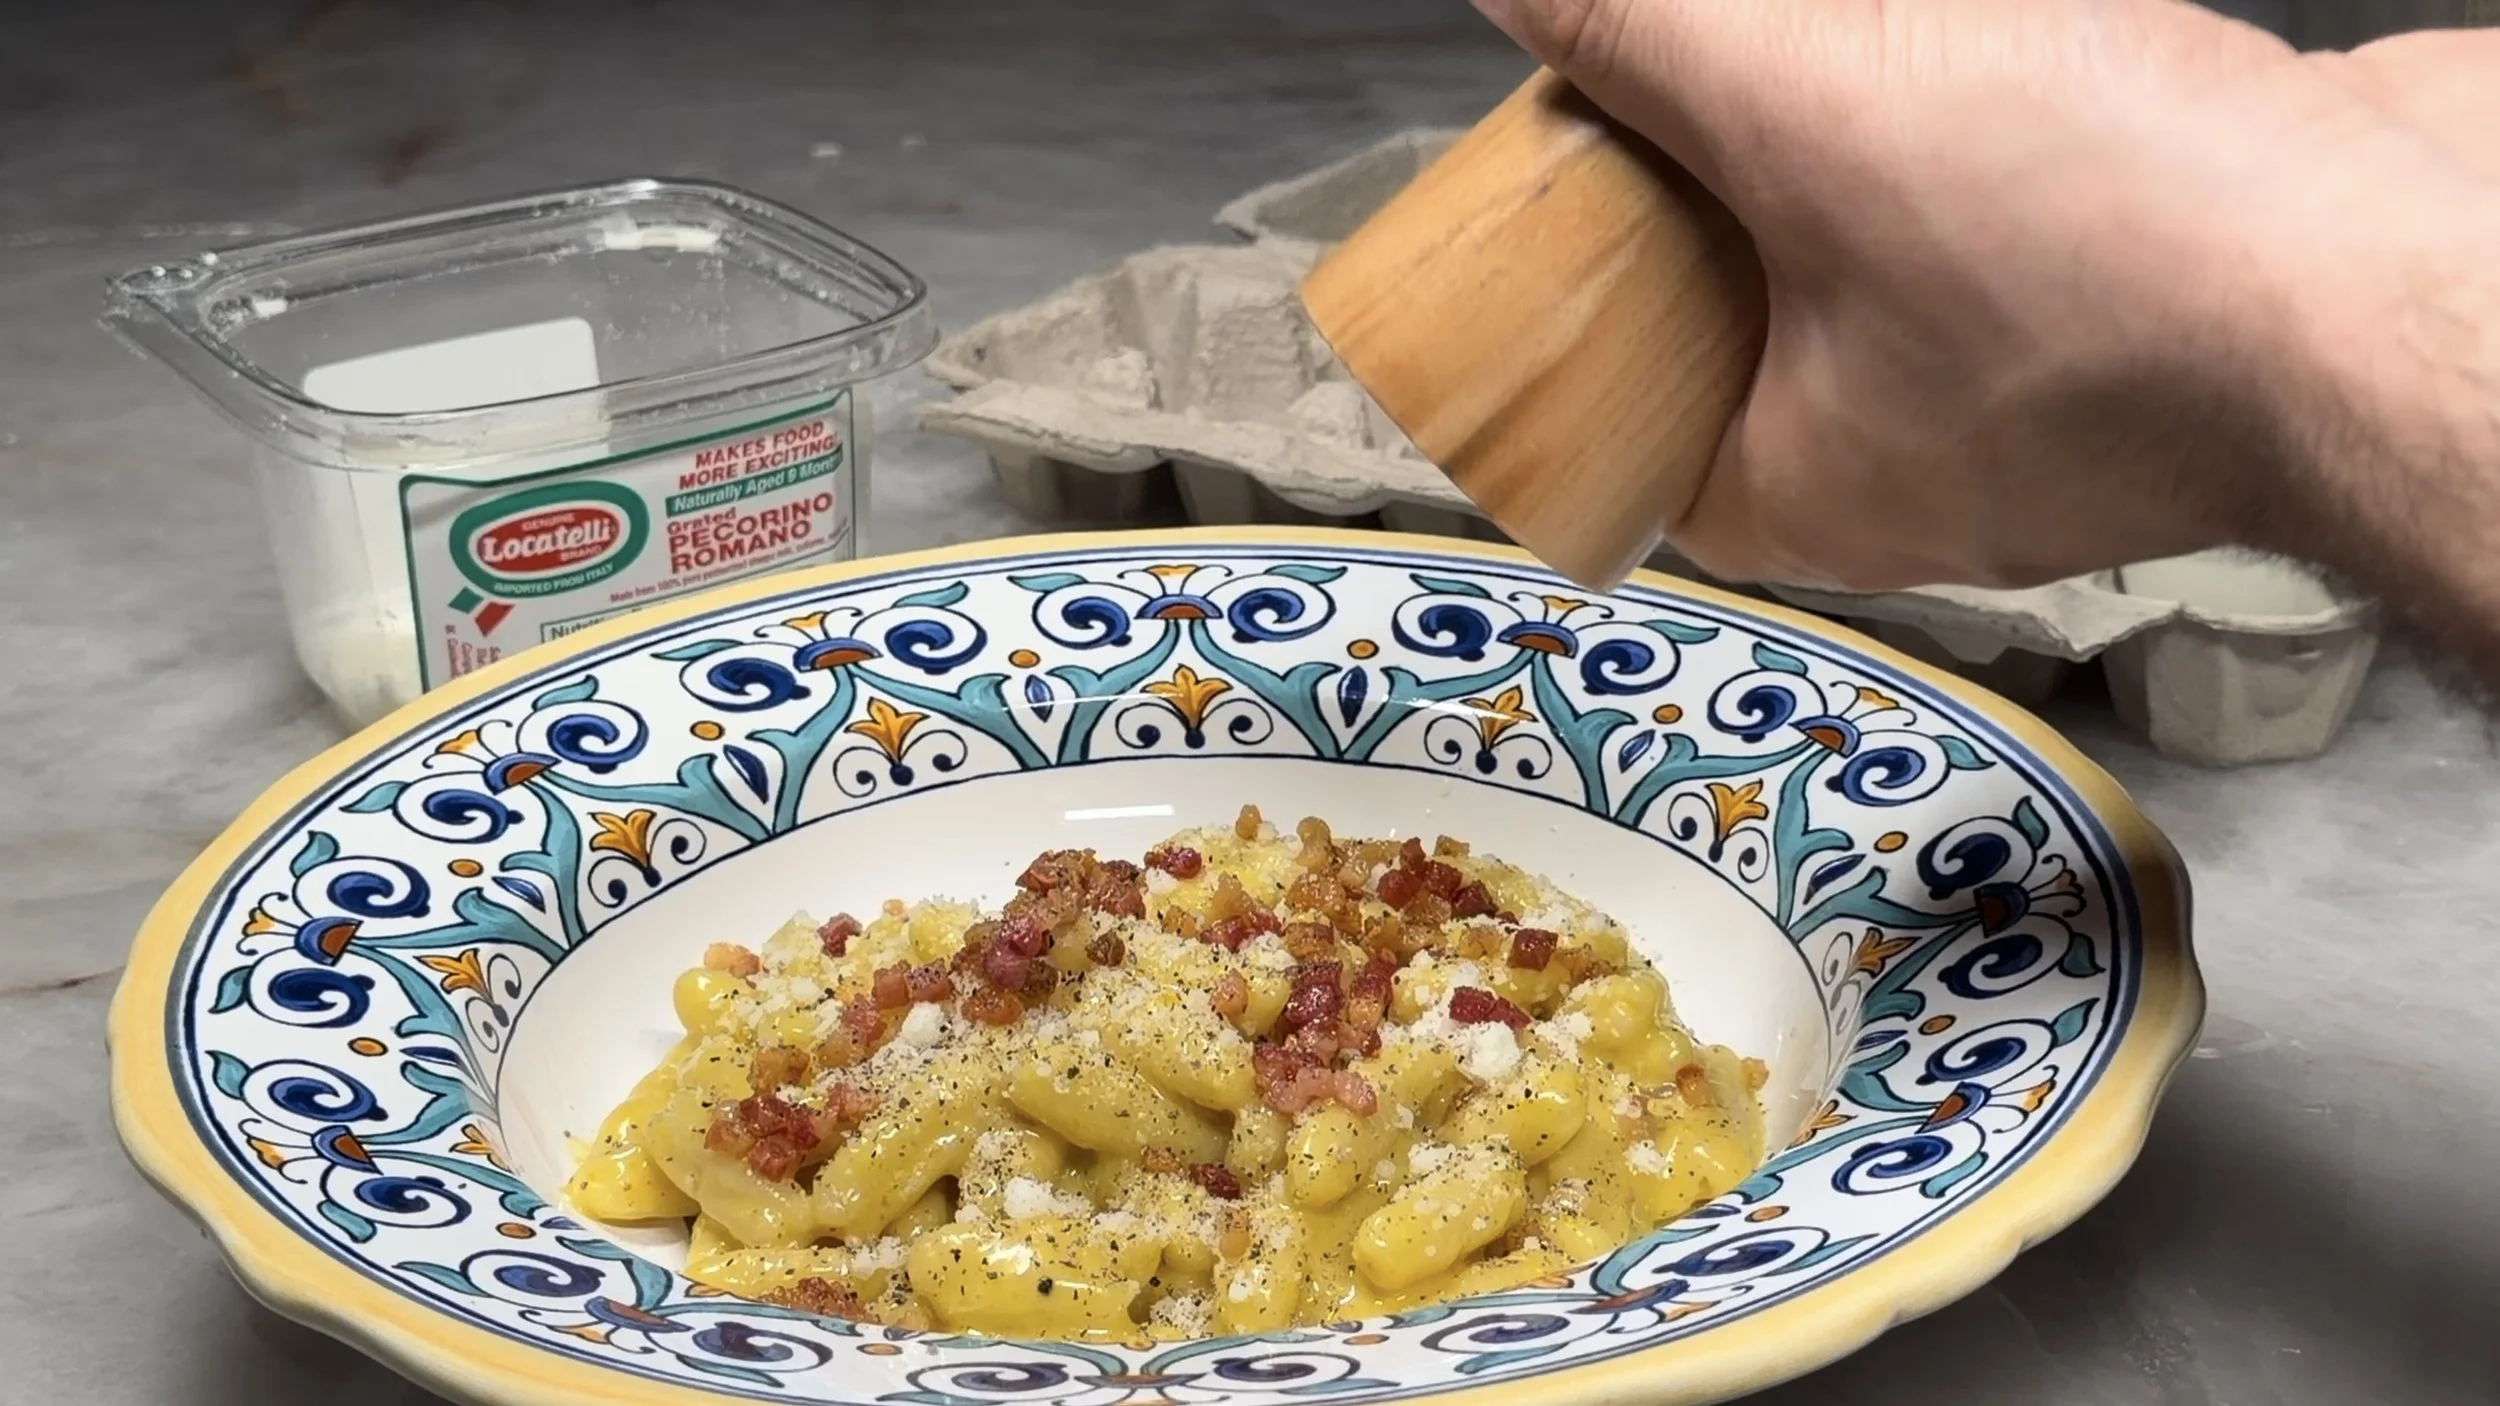
A luxurious, silky sauce inspired by Rome’s classics.
Egg Yolk Base
3 egg yolks
Pecorino Romano
Cracked black pepper
Mix well.
Pancetta / Guanciale
Render on high heat
Remove crisp pieces for garnish
Cooking the Cavatelli
Boil salted water
Cook cavatelli for 1–2 minutes
Transfer directly into the pan with rendered fat and pasta water
Emulsify
Add grated Pecorino and mix until creamy.
Add Egg Mixture
Off heat, add the yolk mixture and stir quickly.
Return to heat briefly only if needed.
You’ll know it’s ready when the sauce shifts from bright yellow to a gentle pale color.
Finish
Top with crispy pancetta or guanciale
Freshly cracked pepper
No salt needed — Pecorino is naturally salty
Course Conclusion
You now know every step of Chef Julian’s complete cavatelli method:
Proper semolina rimacinata dough
Boiling-water hydration
Low hydration kneading
Vacuum-seal technique
Rope formation
Machine and hand shaping
A professional Roman-style sauce
Thank you for taking this masterclass.
More lessons are coming soon — stay tuned for future pasta sessions.